I still remember the first time I stumbled upon Sashiko Visible Mending – it was like a revelation. I had always been told that worn-out clothes were destined for the trash, but this traditional Japanese technique showed me that breathing new life into old fabrics was not only possible, but also beautiful. The common myth that Sashiko Visible Mending is only for skilled artisans is simply not true – with a few simple tools and some patience, anyone can give their favorite pieces a second chance.
In this article, I’ll share my personal experience and practical tips on how to get started with Sashiko Visible Mending. You’ll learn how to choose the right materials, create stunning patterns, and repair your clothes with visible stitches that tell a story. I’ll cut through the hype and give you honest advice on what works and what doesn’t, so you can confidently give new life to your old clothes and join the sustainable fashion movement. Whether you’re a beginner or an experienced crafter, this guide will provide you with the inspiration and know-how to make Sashiko Visible Mending a part of your creative journey.
Table of Contents
- Project Overview
- Step-by-Step Instructions
- Sashiko Visible Mending
- Mastering Visible Mending Techniques for Beginners
- Revolutionizing Denim Repair With Sashiko Stitching
- Weaving Wisdom: 5 Essential Tips for Sashiko Visible Mending
- Key Takeaways from Sashiko Visible Mending
- Stitching a New Narrative
- Conclusion
- Frequently Asked Questions
Project Overview
Total Time: 2 hours 30 minutes
Estimated Cost: $20 – $40
Difficulty Level: Intermediate
Tools Required
- Sashiko Needle ((a specialized needle for Sashiko stitching))
- Scissors ((sharp and dedicated to cutting thread))
- Thimble ((to protect fingers from needle pricks))
- Measuring Tape ((for measuring fabric and creating patterns))
- Ruler ((12 inches long, for drawing straight lines))
- Pencil ((for marking fabric with guidelines and patterns))
Supplies & Materials
- Sashiko Thread ((in various colors to match or contrast with the fabric))
- Fabric for Mending ((preferably the same type as the original fabric, or a close match))
- Interfacing or Stabilizer ((optional, for added support and stability))
- Sashiko Pattern or Template ((for guiding stitches and creating uniform designs))
- Fabric Glue ((optional, for temporarily holding fabric in place))
Step-by-Step Instructions
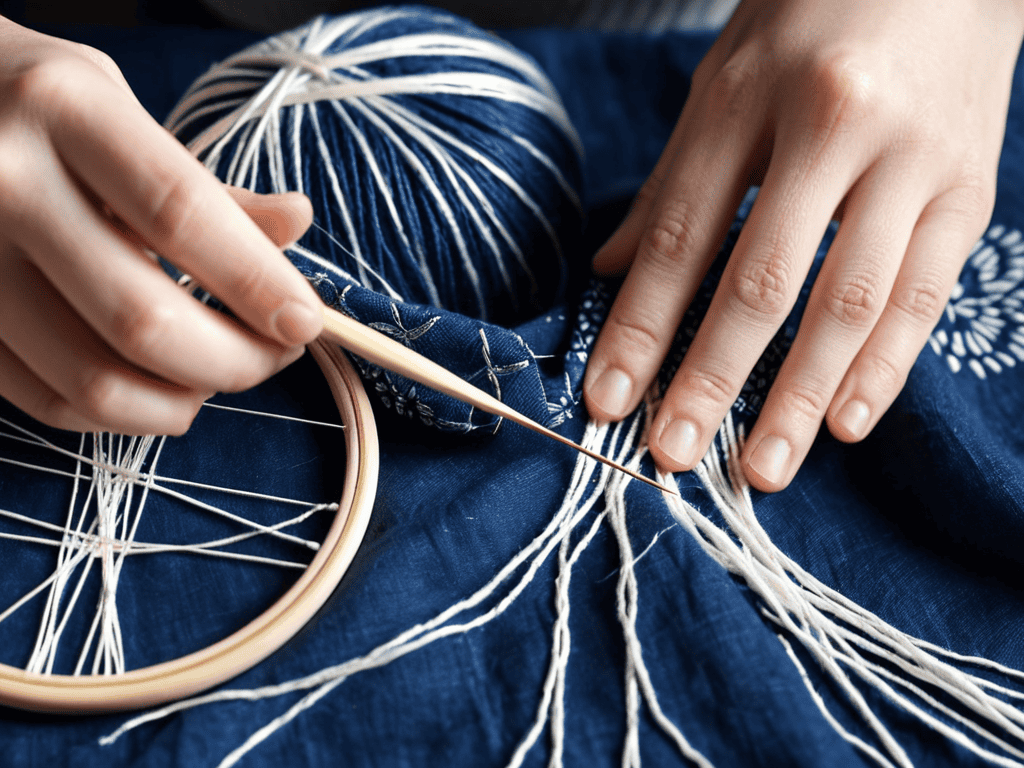
- 1. First, gather your materials, because having the right tools is essential for a successful Sashiko visible mending project. You’ll need a needle, some Sashiko thread, a thimble, and the garment that needs mending. I like to lay out all my materials on a clean, flat surface to get a sense of what I’m working with.
- 2. Next, examine the damage to determine the best course of action. Take a closer look at the tears, holes, or frayed seams, and think about how you can use Sashiko stitching to accentuate the worn areas rather than just covering them up. This is where the magic happens, and you start to see the potential for transformation.
- 3. Now it’s time to thread your needle and tie a knot at the end of the thread. I prefer to use a simple knot, but you can use whatever type of knot you’re most comfortable with. The key is to make sure it’s secure so that your stitches don’t come undone as you work. Tension is important here, as you want the thread to be taut but not too tight.
- 4. Begin by bringing your needle up through the fabric from the underside of the garment, and then insert it back into the fabric about 1/4 inch away. Pull the thread gently to create a small stitch. Repeat this process, moving along the line of the tear or hole, using consistent, even stitches to build a foundation for your mend.
- 5. As you continue stitching, start to think about the pattern you want to create. Sashiko visible mending is all about embracing the beauty of the repair, so don’t be afraid to get creative with your stitches. You can use a simple running stitch, or try something more intricate like a herringbone pattern. The key is to have fun and experiment with different techniques.
- 6. Once you’ve completed the main body of your mend, take a step back to admire your work. You may need to add a few additional stitches to reinforce the area, or use a needle to weave in any loose ends. This is also a good time to think about adding any decorative elements, like a few delicate embroidery stitches around the edge of the mend.
- 7. Finally, inspect your work one last time to make sure everything is secure and even. If necessary, make any final adjustments to the tension of your stitches or the overall appearance of the mend. And that’s it – with these simple steps, you’ve successfully used Sashiko visible mending to breathe new life into an old favorite, giving it a second chance at life.
Sashiko Visible Mending
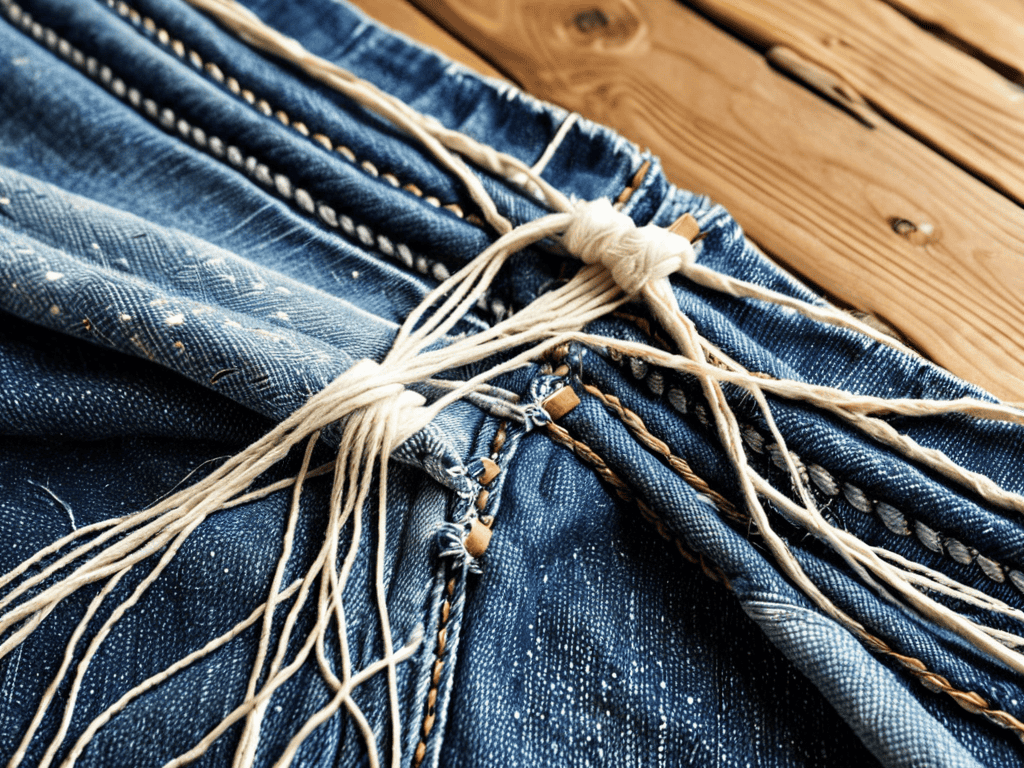
As I delve deeper into the world of visible mending techniques, I’ve come to appreciate the beauty of sashiko stitching patterns. These traditional Japanese embroidery threads add a touch of elegance to even the most worn-out denim. When it comes to denim repair methods, Sashiko stitching is a game-changer. Not only does it extend the life of your favorite jeans, but it also tells a story of resilience and resourcefulness.
For those new to hand stitching, it’s essential to start with simple patterns and gradually move on to more complex designs. Japanese embroidery threads come in a variety of colors and textures, allowing you to personalize your repairs and make them truly unique. As you become more confident in your stitching skills, you can experiment with different denim repair methods, from reinforcing seams to creating intricate designs.
By embracing sustainable fashion practices, we can reduce waste and promote a more mindful approach to consumption. Visible mending is not just about fixing broken things; it’s about giving them a new life and a story to tell. As you master the art of Sashiko stitching, you’ll find that it’s not just a practical skill, but also a meditative process that allows you to connect with your clothes and the environment in a more meaningful way.
Mastering Visible Mending Techniques for Beginners
For those new to Sashiko, mastering visible mending techniques can seem daunting, but it’s actually quite straightforward. Start by choosing a simple pattern, like the running stitch, and practice on a scrap piece of fabric. As you gain confidence, you can move on to more intricate designs. The key is to take your time and focus on even, consistent stitches. Don’t be too hard on yourself if your early attempts are a bit wonky – it’s all part of the learning process.
With patience and practice, you’ll soon be creating beautiful, unique repairs that breathe new life into old favorites. Remember, the beauty of Sashiko lies in its imperfections, so don’t be afraid to make mistakes.
Revolutionizing Denim Repair With Sashiko Stitching
Revolutionizing Denim Repair with Sashiko Stitching
I’ve seen firsthand how Sashiko stitching can breathe new life into worn-out denim. This traditional Japanese technique not only extends the life of your favorite jeans but also adds a unique touch of character. By embracing the beauty of imperfection, Sashiko visible mending turns would-be discarded clothes into one-of-a-kind statement pieces. With each careful stitch, the story of the garment unfolds, giving it a new lease on life. Whether it’s a faded knee or a torn seam, Sashiko stitching transforms flaws into fascinating features, making every repair a testament to the art of impermanent perfection.
Weaving Wisdom: 5 Essential Tips for Sashiko Visible Mending
- I always start by choosing the right thread color – it’s amazing how a contrasting hue can make your stitches pop and give new life to an old favorite
- Never underestimate the power of patience – Sashiko visible mending is all about embracing the slow process and finding beauty in the imperfections
- For a more polished look, try using a combination of straight and curved stitches to add texture and visual interest to your repair work
- To avoid frustrating tangles and knots, condition your thread by running it through a small piece of fabric or a thread conditioner before you start stitching
- Experiment with different fabric types and weights – you’d be surprised how Sashiko visible mending can breathe new life into everything from delicate linens to sturdy denim
Key Takeaways from Sashiko Visible Mending
I’ve learned that embracing the beauty of imperfection is at the heart of Sashiko visible mending, giving old clothes a new story to tell
By mastering a few simple stitches, anyone can breathe new life into worn-out denim and reduce fashion waste
Sashiko visible mending is more than just a repair technique – it’s a way to challenge conventional notions of beauty and perfection in fashion, one stitch at a time
Stitching a New Narrative
With every visible mend, we’re not just repairing fabric, we’re weaving a story of rebellion against the disposable and the forgotten, one deliberate stitch at a time.
Ava Morales
Conclusion
As I’ve delved deeper into the world of Sashiko visible mending, I’ve found that one of the most significant challenges is finding like-minded individuals who share my passion for sustainable fashion and repair. That’s why I’ve been exploring online communities and forums, where people can connect and share their experiences, and I stumbled upon a fascinating platform that offers personal classified ads, which can be a great way to find local workshops, swap meets, or even just someone to trade tips and tricks with. By connecting with others who are also enthusiastic about reducing waste and breathing new life into old clothes, I’ve gained a wealth of knowledge and inspiration, and I’m excited to see where this journey takes me.
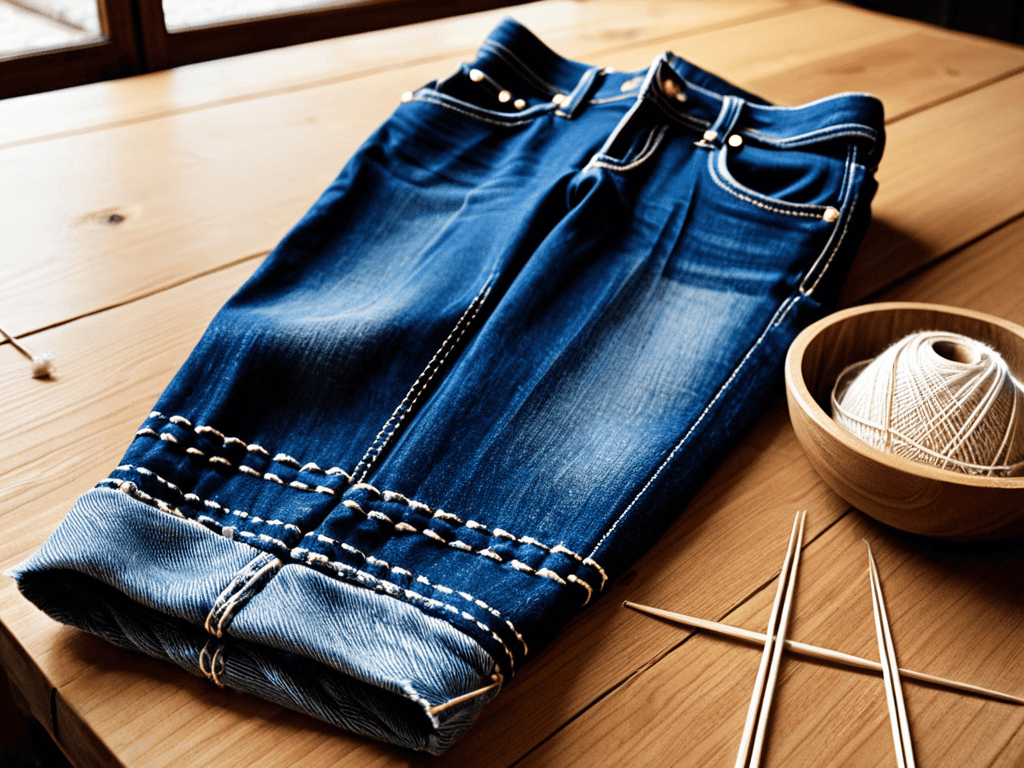
As we conclude our journey through the world of Sashiko visible mending, it’s essential to reflect on the key takeaways. We’ve explored the step-by-step guide to mastering this traditional Japanese technique, and delved into its application in revolutionizing denim repair. By embracing Sashiko visible mending, we not only extend the life of our belongings but also contribute to a more sustainable fashion ethos. Whether you’re a seasoned crafter or a beginner, this technique offers a unique opportunity to breathe new life into worn-out items, making it an excellent addition to any DIY enthusiast’s toolkit.
As you embark on your own Sashiko visible mending journey, remember that it’s not just about repairing clothes – it’s about embracing imperfection and celebrating the beauty of handmade craftsmanship. With every stitch, you’re not only preserving the environment but also creating a testament to the human touch. So, go ahead, pick up that needle and thread, and let the gentle art of Sashiko visible mending inspire you to rethink the way you approach repair, reuse, and recycling, one stitch at a time.
Frequently Asked Questions
What are the most common types of fabric that can be repaired using Sashiko visible mending?
I’ve found that Sashiko visible mending works beautifully on denim, canvas, and even thicker cotton fabrics. It’s also great for repairing linen and hemp clothing. Really, any natural fiber fabric can be revived with this technique, giving old favorites a new lease on life.
How do I choose the right thread color to match my garment when using Sashiko stitching?
Choosing the right thread color is all about creating a harmonious contrast – I like to match the thread to the garment’s original stitching or a dominant color, but also consider a complementary shade to make the repair pop in a beautiful way.
Can Sashiko visible mending be used to repair other types of damage, such as tears or holes, beyond just worn-out seams?
Absolutely, Sashiko visible mending can be used to repair more than just worn-out seams. I’ve used it to beautifully mend tears, holes, and even reinforce weak areas on my favorite clothes, giving them a new lease on life. It’s amazing how a few simple stitches can transform a damaged piece into a unique, storytelling-worthy garment.