I still remember my first flight simulation experience – it was a far cry from the real thing. As a former bush pilot, I’ve had my fair share of turbulent flights, but nothing could have prepared me for the unrealistic experience of setting up microsoft flight simulator for realism. The myth that it’s all about tweaking complex settings to get a realistic experience is not only frustrating but also misleading. In reality, it’s about understanding the fundamentals of flight and applying them to your simulation experience.
As we dive into the world of flight simulation, I want to assure you that this guide is not about complicated jargon or unrealistic expectations. Instead, it’s about providing you with practical advice on how to set up your Microsoft Flight Simulator for a realistic experience. We’ll break down the process into simple, manageable steps, focusing on the key aspects that will make your simulation experience as real as possible. By the end of this guide, you’ll be equipped with the knowledge to create a truly immersive experience, one that will make you feel like you’re actually flying. So, buckle up and let’s get started on this journey to setting up microsoft flight simulator for realism.
Table of Contents
- Guide Overview: What You'll Need
- Step-by-Step Instructions
- Setting Up Microsoft Flight Simulator
- Taking Flight: 5 Essential Tips for a Realistic Microsoft Flight Simulator Experience
- Key Takeaways for a Realistic Microsoft Flight Simulator Experience
- Realism Takes Flight
- Conclusion: Taking to the Skies with Realism
- Frequently Asked Questions
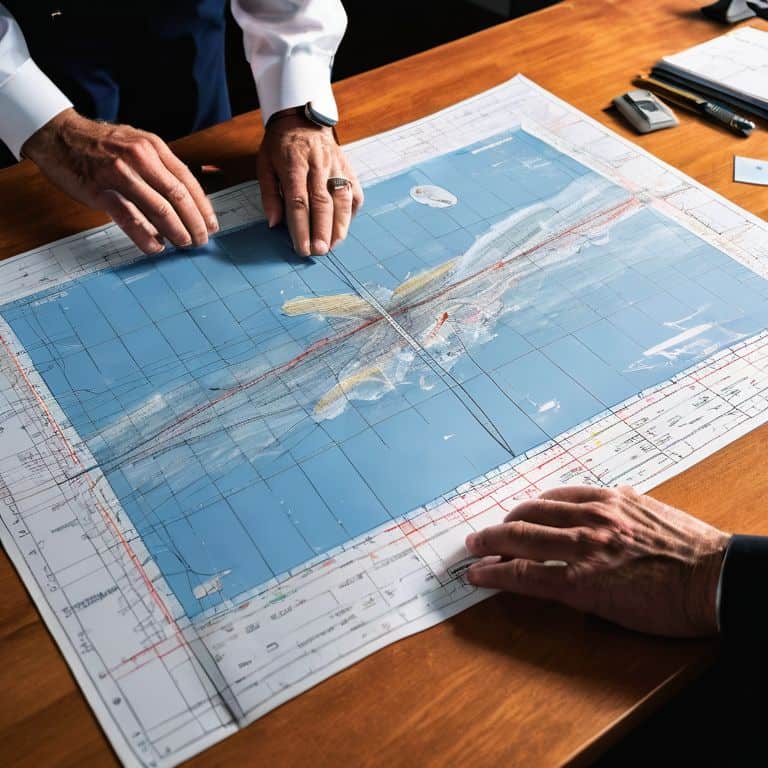
Guide Overview: What You'll Need
Total Time: 4 hours 30 minutes
Estimated Cost: $100 – $300
Difficulty Level: Intermediate / Hard
Tools Required
- Computer with Microsoft Flight Simulator installed (with a dedicated graphics card)
- Flight Stick or Yoke (for more realistic control)
- Rudder Pedals (for improved ground handling)
- External Monitor or Multiple Monitors (for increased immersion)
- Comfortable Seating and Desk (for long flight sessions)
Supplies & Materials
- Real-World Weather Data Subscription (for accurate weather simulation)
- Custom Scenery or Add-On Packs (for enhanced realism)
- Joystick or Yoke Calibration Tool (for precise control)
- Flight Simulator Manual or Tutorial (for learning realistic procedures)
- Internet Connection (for online updates and multiplayer features)
Step-by-Step Instructions
- 1. First, let’s start by configuring the basics of Microsoft Flight Simulator to ensure we’re setting ourselves up for a realistic experience. This includes choosing the correct aircraft, which can significantly impact the realism of our simulation. I recommend starting with a single-engine piston aircraft, like the Cessna 172, as it’s a great all-around trainer and easy to handle.
- 2. Next, we need to adjust the simulation settings to reflect real-world conditions. This involves tweaking the weather, time of day, and location to match actual flight scenarios. For example, if you’re practicing instrument flying, you’ll want to set the weather to instrument meteorological conditions (IMC) to simulate real-world challenges.
- 3. Now, let’s move on to customizing the aircraft itself. This includes setting the correct weight and balance, as well as configuring the fuel load and passenger count. These details may seem minor, but they can significantly impact the aircraft’s performance and handling, making the simulation more realistic.
- 4. The next step is to calibrate your controls, which is essential for a realistic flying experience. This involves setting up your joystick, yoke, or other flight control devices to accurately reflect the sensations of flying a real aircraft. I recommend using a flight stick with a realistic feel and resistance to get the most immersive experience.
- 5. With our aircraft and controls set up, it’s time to practice realistic flight procedures. This includes following standard operating procedures (SOPs) for takeoff, cruise, and landing, as well as practicing emergency procedures like engine failures and system malfunctions. By following these procedures, you’ll be able to develop muscle memory and improve your overall flying skills.
- 6. To take your simulation to the next level, consider adding realistic scenery and weather effects. This can include downloading custom scenery packages or using real-world weather data to simulate actual flight conditions. By adding these realistic elements, you’ll be able to immerse yourself in the simulation and feel like you’re really flying.
- 7. Finally, let’s talk about tracking your progress and improving your flying skills. This involves using the simulator’s built-in tools to track your flight data, such as speed, altitude, and heading. By analyzing this data, you’ll be able to identify areas for improvement and develop a plan to become a better pilot. I recommend setting specific goals and challenges for yourself, like completing a certain number of instrument approaches or navigating through complex airspace.
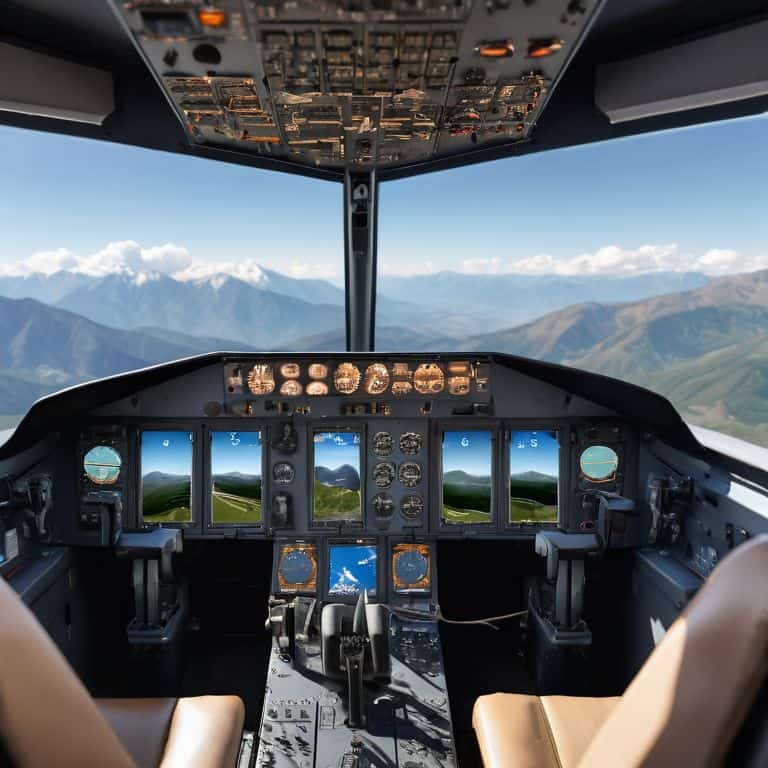
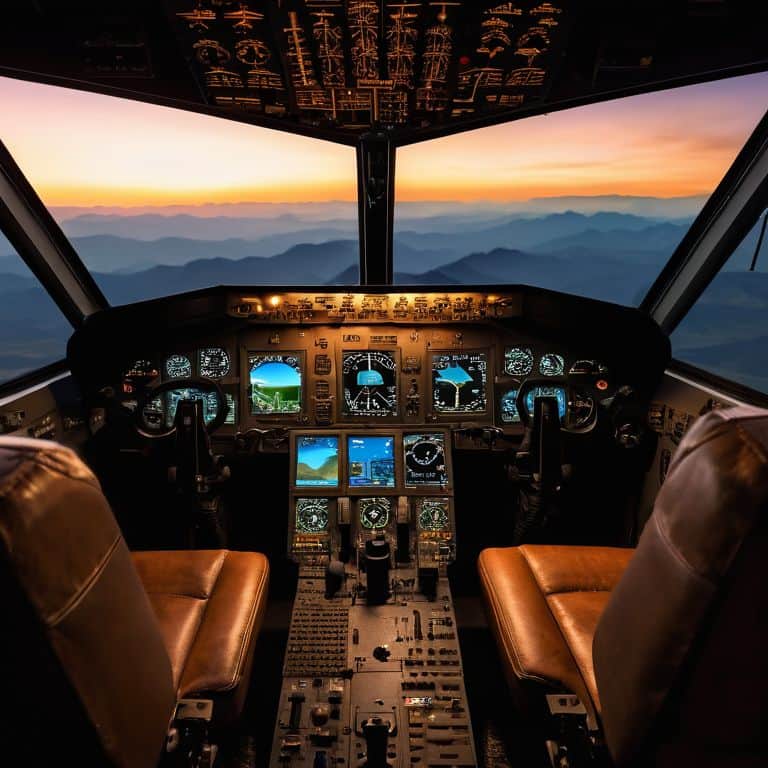
Setting Up Microsoft Flight Simulator
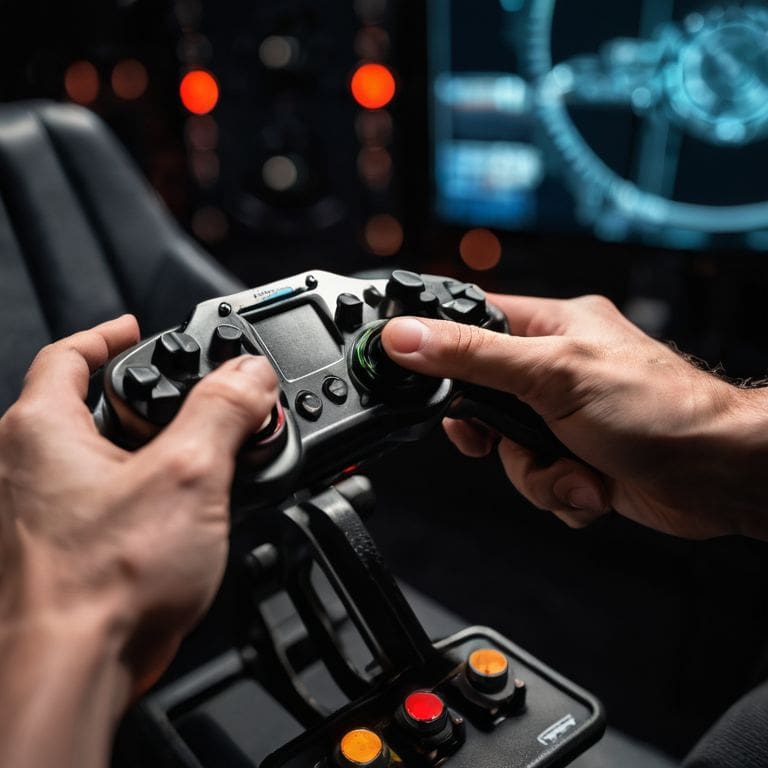
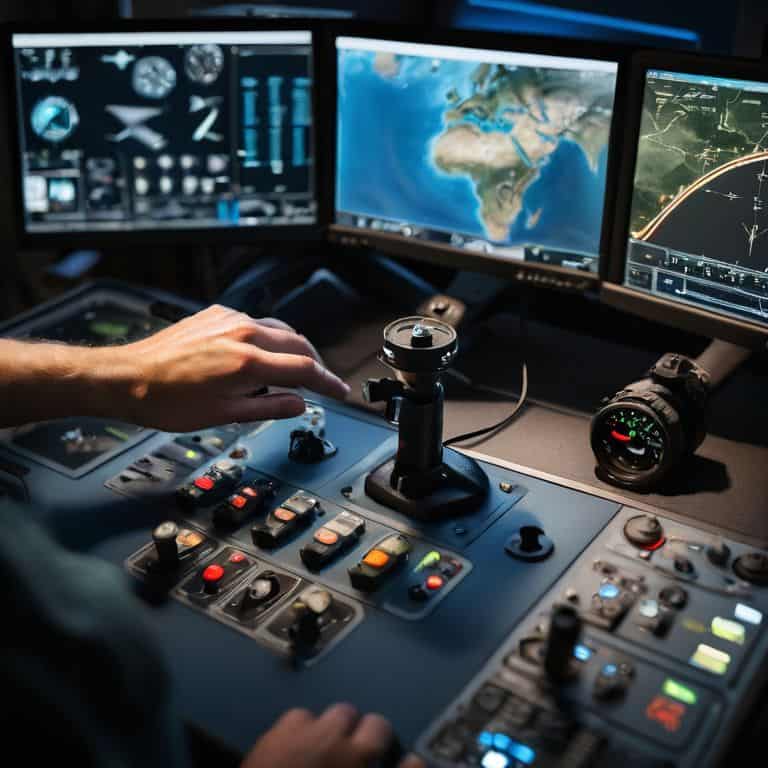
As we delve into the world of Microsoft Flight Simulator, it’s essential to consider the realistic flight simulator controls that will elevate your experience. Investing in a quality joystick or yoke can make a significant difference in the realism of your flights. I always tell my students that a good control setup is like having a well-tuned aircraft – it responds to your every input, making the flight feel more immersive.
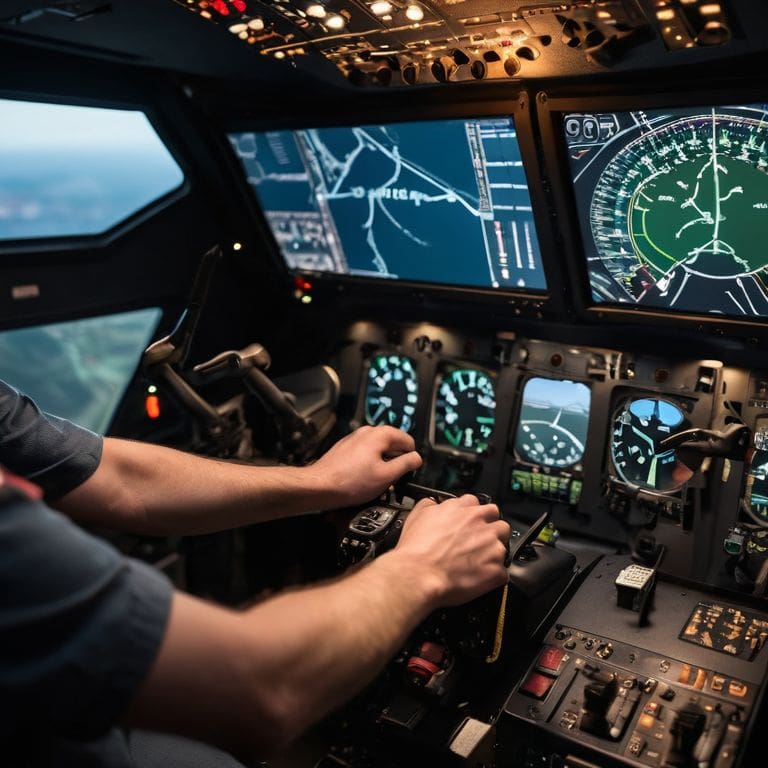
When it comes to customizing your experience, optimizing graphics is crucial for a realistic flight simulation. Ensuring your system meets the Microsoft Flight Simulator system requirements is vital to avoid lag or poor performance. By fine-tuning your graphics settings, you can create a more realistic environment that draws you into the world of flight. Whether you’re flying over mountains or navigating through valleys, the right graphics settings can make all the difference.
To take your experience to the next level, consider customizing weather settings to match real-world conditions. This can add an extra layer of realism to your flights, making you feel like you’re truly flying through the elements. By combining realistic weather with accurate controls and optimized graphics, you’ll be well on your way to creating an immersive flight experience that’s hard to distinguish from the real thing.
Optimizing Graphics for Realistic Simulation
To truly immerse yourself in the world of Microsoft Flight Simulator, optimizing your graphics settings is crucial. I like to think of it as fine-tuning the instruments on your aircraft – every adjustment counts. Start by adjusting the display settings to your monitor’s native resolution and refresh rate. This will provide a smoother experience, much like how a well-maintained aircraft performs better in various weather conditions.
Next, tweak the graphics quality settings to balance performance and visual realism. Think of it as navigating through different airspaces – you need to find the right altitude and speed to avoid turbulence. By finding this balance, you’ll enhance your overall simulation experience, making it feel more realistic and engaging.
Realistic Controls for Immersive Flight
Realistic controls are essential for an immersive flight experience. As a flight instructor, I always stress the importance of understanding how your aircraft responds to different inputs. In Microsoft Flight Simulator, you can customize your controls to mimic the real thing. I recommend using a flight stick or yoke, as it provides a more authentic feel compared to keyboard and mouse controls.
By configuring your controls to reflect real-world flight dynamics, you’ll be able to fully engage with the simulator. For example, adjusting the sensitivity of your controls can help you develop a sense of finesse, much like a real pilot would when flying a small plane. This attention to detail will enhance your overall experience and make your virtual flights feel more realistic.
Taking Flight: 5 Essential Tips for a Realistic Microsoft Flight Simulator Experience
- Configure Your Controls for Realism: Adjust your joystick, throttle, and rudder pedals to mimic the feel of a real aircraft, just like you would in a real cockpit
- Optimize Your Graphics Settings: Find the perfect balance between performance and visual fidelity to create an immersive experience, from realistic weather effects to detailed aircraft models
- Choose the Right Aircraft: Select planes with detailed, realistic models and flight characteristics to enhance your simulation experience, whether you’re flying a commercial airliner or a vintage biplane
- Get Familiar with Real-World Weather: Learn to read and understand meteorological reports to add an extra layer of realism to your flights, just like a real pilot would
- Practice with Realistic Scenarios: Train yourself in different emergency situations and normal operating procedures to become a more confident and skilled virtual pilot, from takeoff to landing
Key Takeaways for a Realistic Microsoft Flight Simulator Experience
Configure your controls to mimic real aircraft settings for an immersive flight experience, paying attention to sensitivity and response to achieve a realistic feel
Optimize your graphics settings to balance performance and visual fidelity, ensuring a smooth simulation that accurately represents real-world flight conditions
Approach setup and configuration with a step-by-step mindset, similar to pre-flight checks, to ensure all aspects of the simulator are tailored to your preferences for the most realistic experience possible
Realism Takes Flight
Setting up Microsoft Flight Simulator for realism isn’t just about tweaking settings, it’s about creating an experience that simulates the thrill and challenge of actual flight – where every detail matters and every decision counts.
Daniel Sato
Conclusion: Taking to the Skies with Realism
As we’ve navigated the process of setting up Microsoft Flight Simulator for realism, we’ve covered crucial steps such as configuring realistic controls for an immersive flight experience and optimizing graphics for a simulation that feels as close to real flying as possible. These elements are key to creating an environment where you can truly test your flying skills and learn from your experiences. By following the step-by-step guide provided, you’ve essentially completed a ‘ground school’ course, equipping yourself with the knowledge needed to enjoy a more realistic and engaging flight simulation experience.
Now, as you prepare to take off into the virtual skies, remember that the journey to mastering flight simulation is just as important as the destination. Flying with realism isn’t just about the settings or the hardware; it’s about the mindset and the passion for aviation. So, buckle up, stay curious, and always keep learning. With persistence and practice, you’ll find that the thrill of flight, whether real or simulated, is an experience like no other, offering endless possibilities for adventure and discovery.
Frequently Asked Questions
What are the minimum system requirements to run Microsoft Flight Simulator with realistic graphics and settings?
To run Microsoft Flight Simulator with realistic graphics, you’ll need a computer that meets the minimum system requirements. Think of it like checking your aircraft’s pre-flight list: ensure you have at least an Intel Core i5 or AMD equivalent, 8 GB RAM, and a dedicated graphics card like the NVIDIA GeForce GTX 1070.
How do I calibrate my flight controls to get the most realistic feel in the simulator?
To calibrate your flight controls, start by adjusting the sensitivity settings in the simulator. Think of it like fine-tuning the trim on an aircraft – you want it to respond smoothly to your inputs. I recommend using the built-in calibration tool to get a baseline setting, then make adjustments from there to suit your flying style.
Are there any specific add-ons or mods that can enhance the realism of Microsoft Flight Simulator beyond the default settings?
For enhanced realism, I recommend exploring add-ons like realistic weather engines, detailed aircraft models, and scenery enhancements. These can add a new layer of immersion to your flights. Think of them like upgrading your aircraft’s avionics – they can significantly improve your overall experience.