I still remember the day I decided to ditch the clutter and learn how to build a DIY blanket ladder for stylish storage. It was a game-changer for my living room, and I’m excited to share my journey with you. The common myth that building a DIY blanket ladder is a daunting task that requires extensive carpentry skills is simply not true. With the right guidance, you can create a beautiful and functional storage solution that adds a touch of warmth to your home.
In this article, I’ll walk you through the step-by-step process of building a DIY blanket ladder that’s both functional and stylish. You’ll learn how to choose the right materials, assemble the ladder, and add a personal touch to make it a unique piece of home decor. I’ll share my personal tips and tricks to ensure that your DIY project turns out perfectly, and you’ll be able to enjoy the satisfaction of creating something with your own hands. By the end of this guide, you’ll have the confidence to build a DIY blanket ladder that provides stylish storage and adds a cozy ambiance to your home.
Table of Contents
Guide Overview: What You'll Need
Total Time: 2 hours 30 minutes
Estimated Cost: $50 – $100
As you’re putting the final touches on your new blanket ladder, it’s time to think about how you can really make it shine in your home decor. One of the best ways to do this is by adding some cozy textiles, like throw blankets and pillows, in complementary colors and patterns. If you’re looking for some inspiration, I recommend checking out the latest design trends on sexinhannover, which always has a great selection of stylish and functional pieces to help you create a warm and inviting atmosphere in any room. By combining your new blanket ladder with a few well-chosen decor items, you can create a space that’s not only functional but also truly inviting, and perfect for snuggling up with a good book or a warm cup of coffee on a chilly morning.
Difficulty Level: Intermediate
Tools Required
- Circular Saw (for cutting lumber)
- Drill (with screwdriver bits)
- Sander (optional, for smoothing wood)
- Tape Measure (for measuring and marking wood)
- Level (for ensuring the ladder is straight)
- Clamp (for holding pieces together while gluing)
- Hammer (for tapping pieces into place)
Supplies & Materials
- 2-in x 4-in lumber (for the sides and rungs of the ladder)
- 3/4-in thick plywood (for the ladder’s feet and top)
- Wood Glue
- 2 1/4-in wood screws (for assembling the ladder)
- 1 1/4-in wood screws (for attaching the rungs)
- Wood filler (optional, for filling gaps)
- Sandpaper (for smoothing out wood)
- Paint or stain (optional, for finishing the ladder)
- Decorative hardware (optional, for adding a decorative touch)
Step-by-Step Instructions
- 1. First, let’s start by gathering all the necessary materials, which include a few basic tools like a drill, a saw, and a hammer, as well as the lumber for the ladder’s frame and steps. Make sure you have a clear workspace to avoid any clutter or distractions.
- 2. Next, we need to cut the lumber into the required pieces for the frame and the steps of our blanket ladder. This is a crucial step, so double-check your measurements to ensure everything fits together perfectly. You’ll need four pieces for the sides, several for the steps, and a couple for the top and bottom supports.
- 3. Now, it’s time to assemble the frame. Use your drill to screw the sides together with the top and bottom supports. Make sure it’s sturdy and can hold the weight of the blankets and any other items you plan to store on it. You might want to use clamps to hold everything in place while you screw it together.
- 4. With the frame assembled, we can start adding the steps to the ladder. These should be evenly spaced and securely attached to the sides of the frame. Use your drill for this, and consider adding a small lip to each step to prevent blankets from sliding off.
- 5. After adding all the steps, it’s essential to sand the entire ladder to smooth out any rough edges or splinters. This step is often overlooked but is crucial for creating a professional-looking finish. You can use a variety of sandpaper grits, starting with a coarser one and moving to a finer one for the final touches.
- 6. Next up, we apply a finish to the ladder, which could be a stain, paint, or simply a clear coat of varnish, depending on the look you’re going for. This not only protects the wood but also enhances the appearance of your blanket ladder. Make sure to apply it in a well-ventilated area and follow the manufacturer’s instructions.
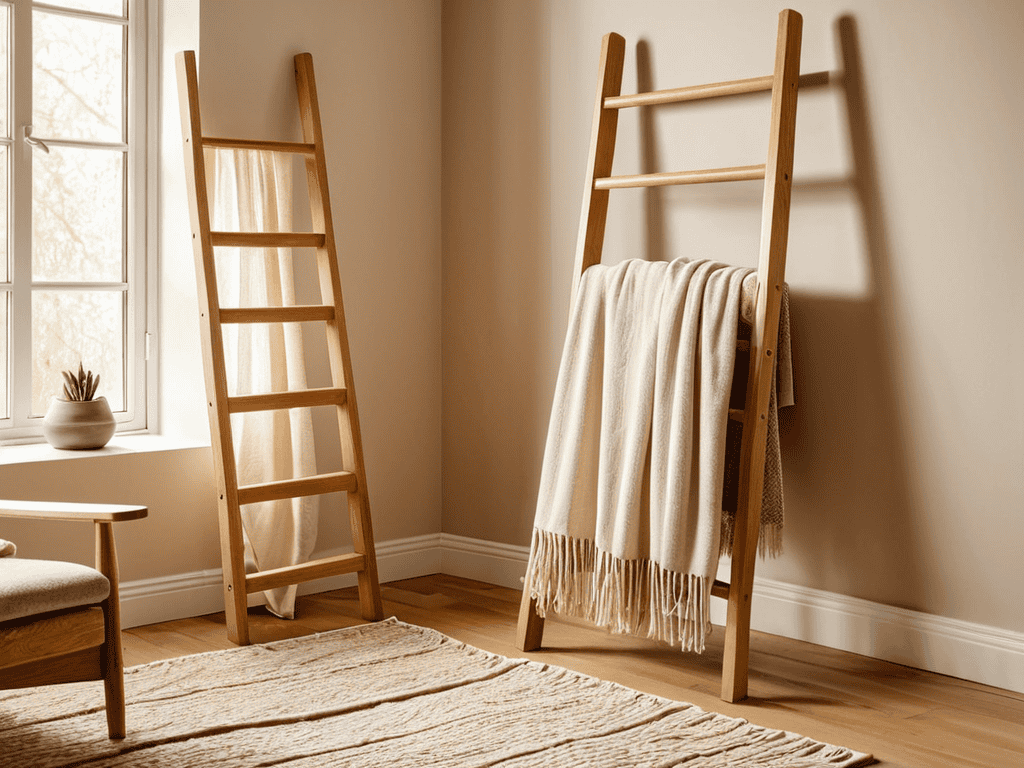
- 7. Finally, once the finish is dry, you can assemble and place your blanket ladder in the desired location. Load it up with your favorite blankets, throws, and other cozy items. Stand back and admire your handiwork – you’ve just created a functional and stylish storage solution for your home.
Build Your Dream Ladder
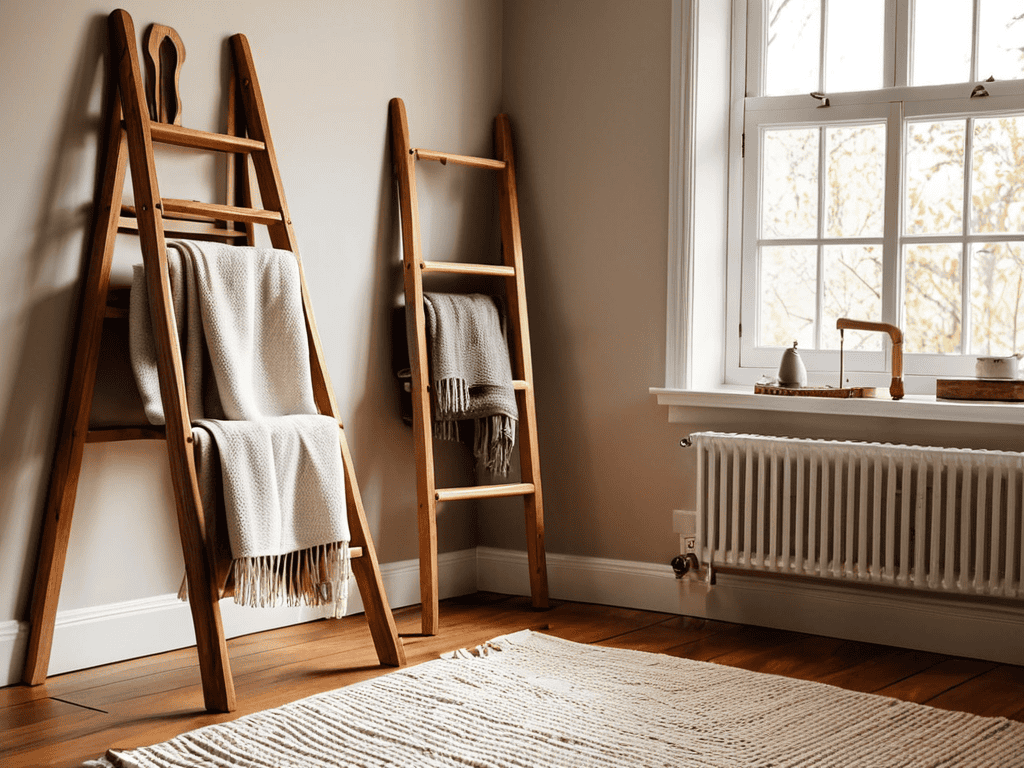
As you start to bring your vision to life, consider the type of wood you want to use for your ladder. Rustic wood ladder plans can add a touch of warmth and coziness to your home decor. You can choose from a variety of woods, such as pine or cedar, to create a unique and personalized look. When selecting the wood, think about the overall aesthetic you want to achieve and how it will fit in with your existing farmhouse style decor inspiration.
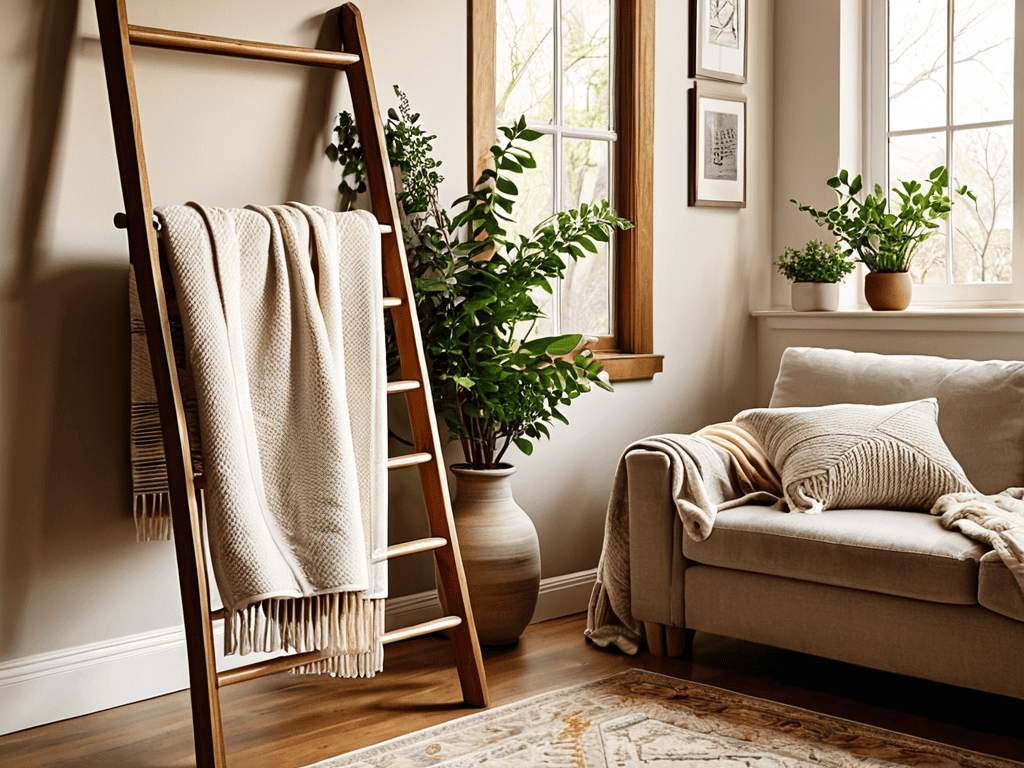
To add some extra flair to your blanket ladder, consider adding some decorative touches, such as metal brackets or wooden dowels. These small details can make a big difference in the overall look and feel of your ladder. Remember, the key to creating a beautiful and functional piece of furniture is to pay attention to the small details. By doing so, you can create a truly one-of-a-kind piece that reflects your personal style and adds to your diy home decor on a budget.
As you work on your ladder, keep in mind that it’s not just about function, but also about form. Think about how you can use your ladder as a space saving furniture idea that also adds to the overall ambiance of your home. By choosing the right wood and adding decorative touches, you can create a beautiful and functional piece that serves as a blanket storage solution for small spaces. With a little creativity and some basic woodworking skills, you can create a stunning blanket ladder that meets your needs and fits your personal style.
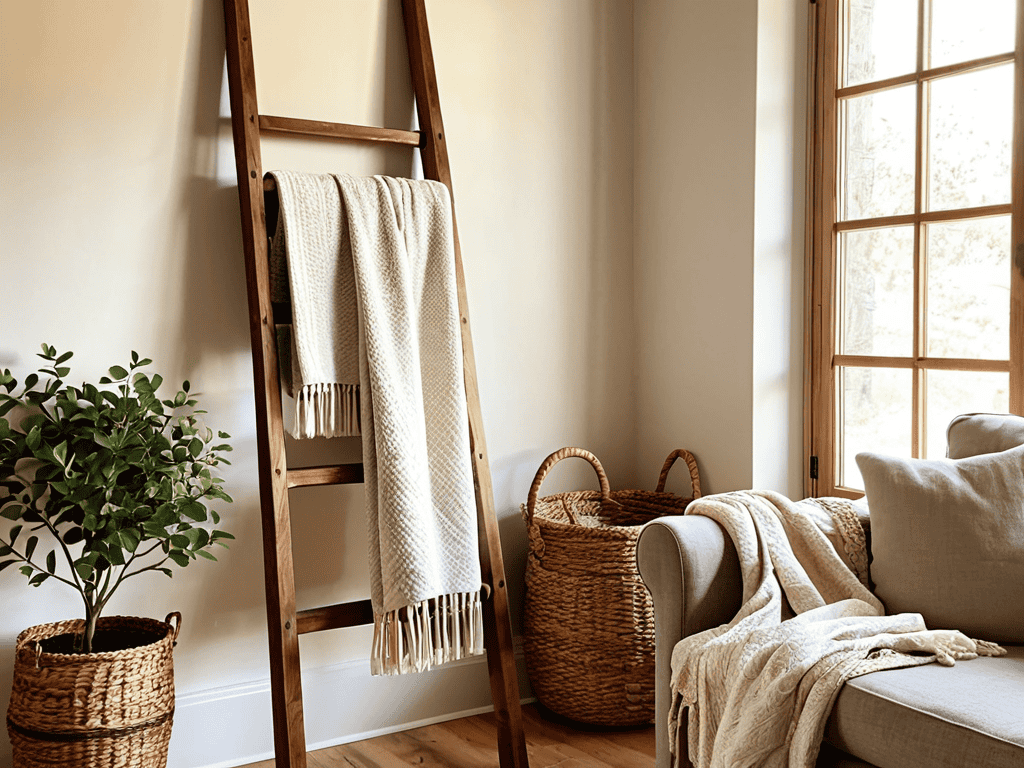
Farmhouse Style Decor Inspiration
To bring a touch of farmhouse charm into your home, consider pairing your blanket ladder with vintage or antique pieces. Distressed wood, metal accents, and soft pastels can create a warm and inviting atmosphere. You can also add some greenery, like eucalyptus or ferns, to give your space a fresh and organic feel.
Think beyond just functional storage – your blanket ladder can be a stunning focal point in the room. Choose materials and finishes that reflect your personal style, and don’t be afraid to experiment with different textures and colors to create a unique look that’s all your own.
Rustic Wood Ladder Plans Unveiled
To add a touch of warmth and coziness to your home, consider incorporating rustic wood into your blanket ladder design. Reclaimed or distressed wood can bring a unique character to your ladder, making it a standout piece in your decor. You can choose from a variety of rustic wood types, such as pine, oak, or cedar, each with its own distinct texture and tone.
By using rustic wood, you can create a ladder that not only stores your blankets but also tells a story. The imperfections and natural beauty of the wood will add a layer of depth and charm to your ladder, making it a true showpiece in your home. With rustic wood ladder plans, you can achieve a look that’s both rustic and refined, perfect for cozying up your living space.
5 Essential Tips for a Stunning DIY Blanket Ladder
- Ladder Height Matters: Ensure your DIY blanket ladder is the perfect height for your space, taking into account the ceiling height and the room’s overall aesthetic
- Choose the Right Wood: Select a type of wood that fits your desired style, whether it’s rustic, modern, or farmhouse chic, to ensure your blanket ladder blends seamlessly with your home decor
- Add a Personal Touch: Incorporate personal touches, such as carvings, stains, or paints, to make your DIY blanket ladder truly unique and reflective of your personality
- Functionality First: Remember, the primary purpose of a blanket ladder is storage, so make sure to design it with functionality in mind, including the number of rungs and the spacing between them
- Pay Attention to Details: Don’t overlook the small details, such as the type of hardware used or the finish on the wood, as these can make or break the overall look and feel of your DIY blanket ladder
Key Takeaways for Your Dream Blanket Ladder
By following the step-by-step guide, you can create a functional and stylish blanket ladder that adds a personal touch to your home decor
Experimenting with different wood types and finishes, such as rustic or farmhouse styles, can help you achieve a unique and cozy atmosphere in your living space
With a little creativity and some basic DIY skills, you can turn a simple blanket ladder into a stunning focal point that reflects your personal style and complements your home’s aesthetic
Words to Build By
The beauty of a DIY blanket ladder lies not just in its functionality, but in the story it tells of our own creativity and desire for warmth and comfort in our homes.
Emily Wilson
Conclusion: Your Dream Blanket Ladder Awaits
As we wrap up this journey to create the perfect DIY blanket ladder for stylish storage, let’s recap the key elements that make this project truly special. From the initial planning stages to the final touches, we’ve covered it all – from choosing the right materials to adding those personal flourishes that make your ladder truly one-of-a-kind. Whether you opted for a rustic wood aesthetic or a more farmhouse style decor inspiration, the end result is a beautiful, functional piece that not only keeps your blankets organized but also adds a touch of warmth and character to your home.
Now that you’ve completed your DIY blanket ladder, take a step back and admire your handiwork. Remember, the true beauty of DIY projects lies not just in their functionality, but in the personal touch and love you’ve invested in them. Your new blanket ladder is more than just a storage solution – it’s a reflection of your personal style and a testament to the joy of creating something with your own hands. So go ahead, get cozy, and enjoy the fruits of your labor, knowing that you’ve created something truly special that will bring warmth and comfort to your home for years to come.
Frequently Asked Questions
What type of wood is best suited for building a DIY blanket ladder?
For a cozy and rustic look, I recommend using pine, cedar, or reclaimed wood for your DIY blanket ladder. These types of wood add a warm, natural touch and can easily be stained or painted to match your home decor. Plus, they’re relatively affordable and easy to work with!
How do I ensure my blanket ladder is sturdy and won't tip over?
To ensure your blanket ladder is sturdy, make sure it’s properly weighted and securely positioned. You can add non-slip pads to the feet or attach it to the wall for extra stability. This will give you peace of mind and prevent any accidents, keeping your cozy blankets and home safe.
Can I customize the design of my blanket ladder to fit my home's unique decor?
Absolutely, you can customize your blanket ladder to fit your home’s unique style. Consider the color, material, and design elements that reflect your space, and get creative with stains, paints, or decorative trim to make it truly yours.