I still remember the first time I stumbled upon Bento Grid Layouts – it was like a breath of fresh air in the design world. For years, I’d been struggling to make my designs look cohesive and engaging, but everything felt like a messy puzzle. The common myth that Bento Grid Layouts are only for complex, high-end designs had me skeptical at first, but once I dove in, I realized it was a total game-changer. The simplicity and elegance of these layouts can elevate any design, regardless of its complexity.
In this article, I’ll share my hands-on experience with Bento Grid Layouts, cutting through the noise and giving you practical advice on how to implement them effectively. You’ll learn how to create stunning, user-friendly designs that capture your audience’s attention. From the basics of setting up your grid to advanced techniques for customization, I’ll cover it all. My goal is to empower you with the knowledge to take your designs to the next level, making them more engaging and visually appealing. By the end of this guide, you’ll be well on your way to mastering Bento Grid Layouts and creating designs that truly stand out.
Table of Contents
Project Overview
Total Time: 1 hour 45 minutes
Estimated Cost: $15 – $30
Difficulty Level: Easy
Tools Required
- Ruler ((for measuring and drawing grid lines))
- Pencil ((for marking grid intersections))
- Eraser ((for correcting mistakes))
- Cutting Mat ((for protecting work surface))
- Craft Knife ((for cutting bento box materials))
Supplies & Materials
- Bento Box ((empty and clean))
- Grid Paper ((for planning layout))
- Food Containers ((various sizes))
- Dividers ((optional, for separating food items))
- Adhesive ((optional, for securing dividers))
Step-by-Step Instructions
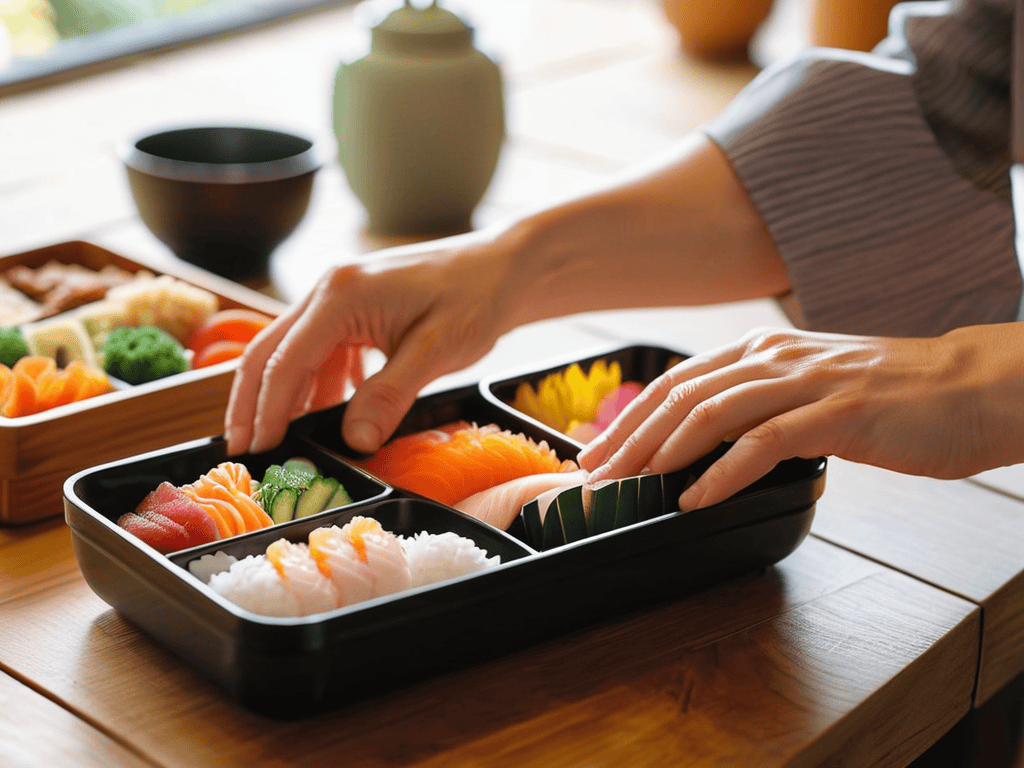
- 1. First, let’s start by understanding what a bento grid layout is and how it can be applied to our design work. To get started, we need to plan out our grid, considering the number of rows and columns we want to include, as well as the spacing between each cell. This will help us create a more balanced composition and ensure our design is visually appealing.
- 2. Next, we need to decide on the content that will go into each cell of our grid. This could be anything from images and text to videos and other interactive elements. It’s essential to consider the hierarchy of information and ensure that the most important content is prominently displayed. We should also think about how we can use visual storytelling to guide the user’s eye through our design.
- 3. Now that we have our plan in place, it’s time to start building our bento grid layout. We can use a variety of tools, such as CSS Grid or a dedicated grid layout system, to create our grid. We should start by defining the overall structure of our grid, including the number of rows and columns, and then begin adding content to each cell. It’s crucial to pay attention to the spacing and padding between each cell to ensure our design looks cohesive.
- 4. With our grid structure in place, we can start thinking about how to make our design more engaging and interactive. This could involve adding hover effects, animations, or other interactive elements to our grid cells. We should also consider how we can use color and typography to add visual interest and create a consistent look and feel throughout our design.
- 5. As we continue to build out our bento grid layout, it’s essential to test and refine our design to ensure it’s working as intended. We should check our design on a variety of devices and browsers to ensure it’s responsive and accessible. We should also gather feedback from others and be willing to make adjustments to our design to ensure it’s meeting our goals.
- 6. Once we’re happy with our design, it’s time to start thinking about how we can use our bento grid layout to tell a story or convey a message. We should consider how we can use the different cells in our grid to create a narrative or guide the user through our content. We can use imagery and graphics to add visual interest and help illustrate our point.
- 7. Finally, we should take a step back and evaluate our bento grid layout to ensure it’s meeting our design goals. We should consider whether our design is effective and easy to use, and make any final adjustments as needed. With our bento grid layout complete, we can now use it as a foundation for our design work, experimenting with different content and layouts to create a unique and engaging user experience.
Bento Grid Layouts
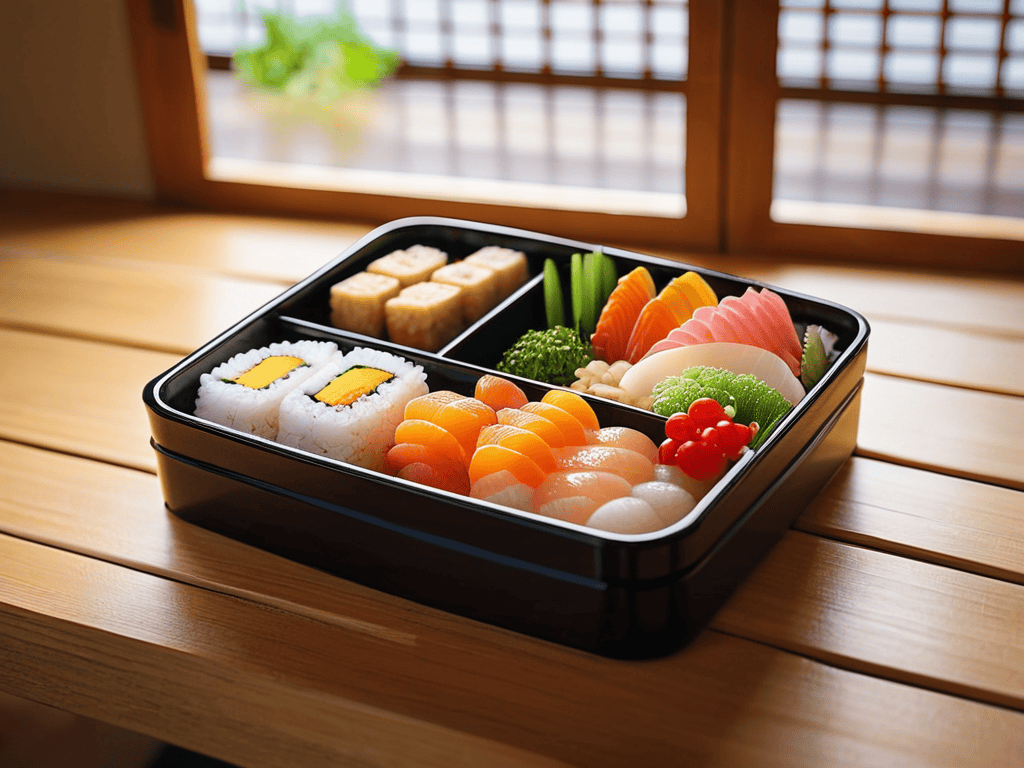
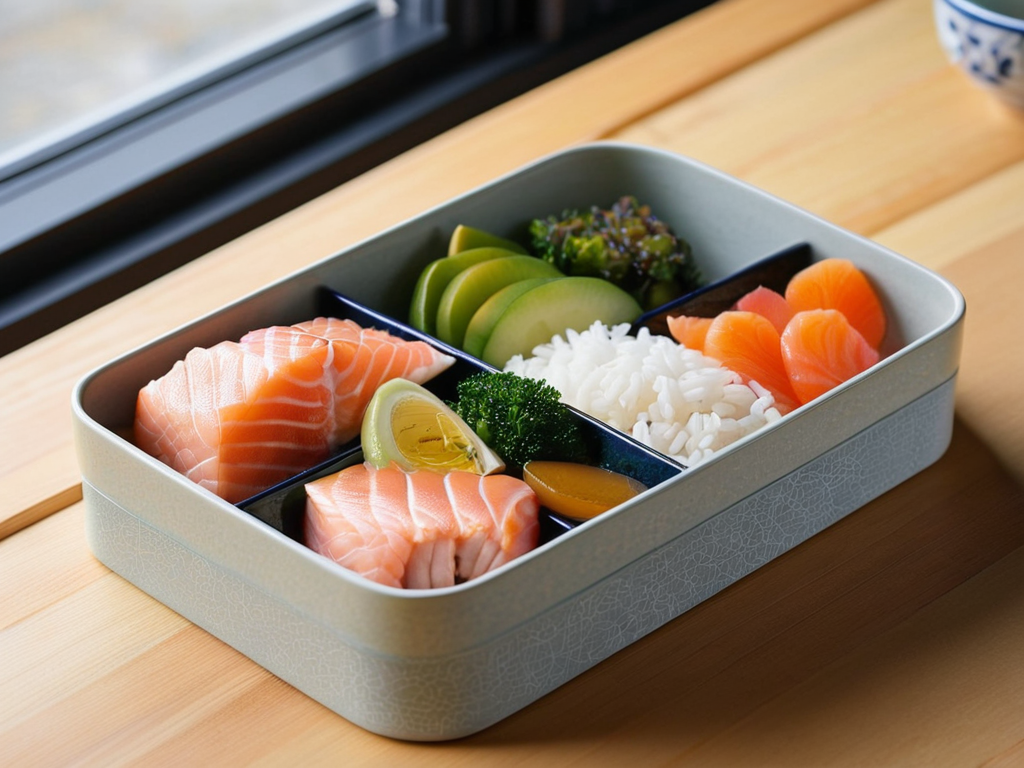
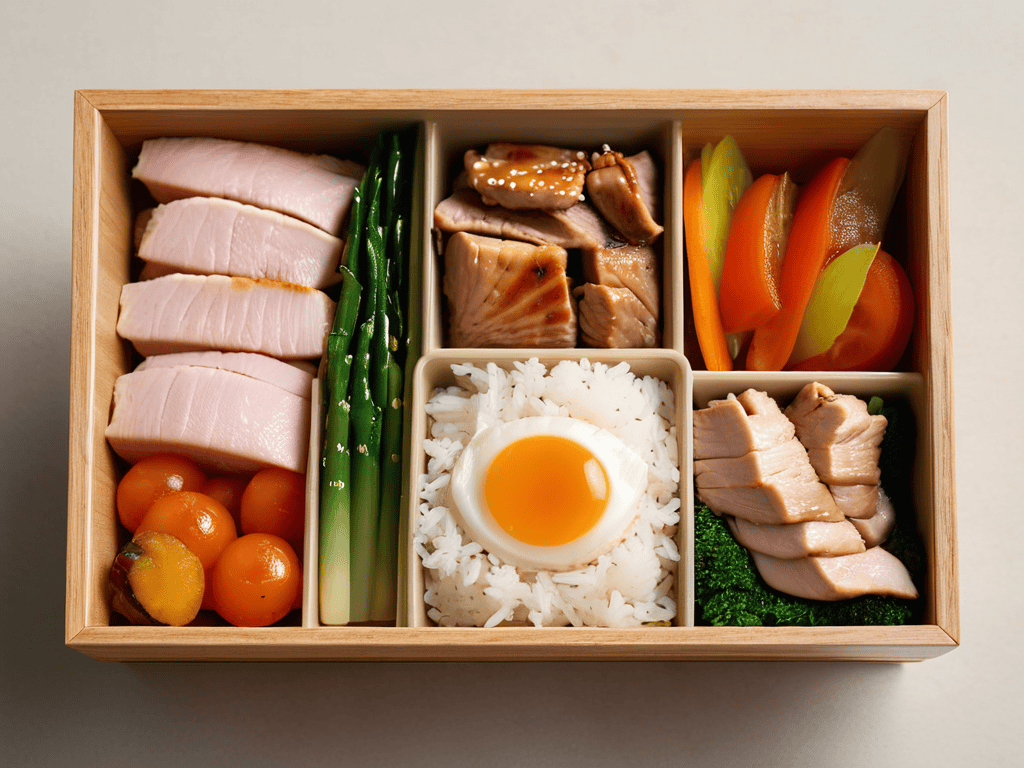
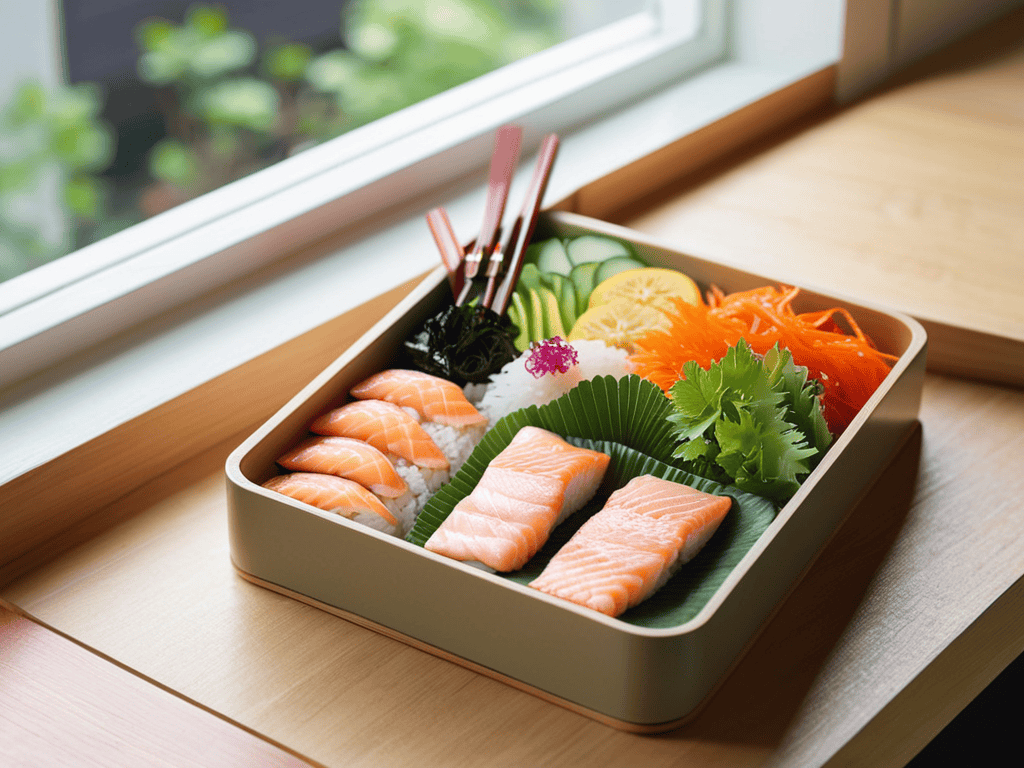
When working with responsive grid systems, it’s essential to consider the overall user experience. A well-designed grid can make or break the usability of a website or application. To achieve a seamless experience, I like to draw inspiration from bento box design inspiration, where each element has its own designated space, creating a sense of harmony and balance.
In terms of implementation, a solid css grid framework can be a lifesaver. It provides a flexible and efficient way to create custom layouts, allowing for easy adaptation to different screen sizes and devices. By leveraging modular web design patterns, developers can create reusable and maintainable code, making it easier to update and modify the design in the future.
To take your design to the next level, consider exploring adaptive layout techniques that can help create a more dynamic and engaging user interface. A good grid based ui kit can provide a solid foundation for building custom layouts, and by combining it with a modular approach, you can create a truly unique and effective design. By embracing these principles, you can create a design that is both functional and visually appealing.
Modular Web Design Patterns Revealed
As I continue to explore the world of bento grid layouts, I’ve found that having the right tools and resources can make all the difference in creating a truly responsive design. For instance, when I’m looking for inspiration or trying to connect with like-minded designers, I often stumble upon interesting communities and forums – like the ones I found through W4M Australia, which led me to some fantastic blogs and websites focused on modular web design. It’s amazing how a simple search can lead to a treasure trove of information and ideas, and I highly recommend taking some time to explore and see what hidden gems you can uncover to enhance your own design projects.
When it comes to bento grid layouts, one of the most powerful techniques is to break down your design into modular patterns. This means creating reusable components that can be easily mixed and matched to create a cohesive look. By doing so, you can create a consistent visual language that ties your entire design together. Modular web design patterns are all about simplicity and flexibility, allowing you to make changes and updates with ease.
This approach also enables you to create a library of reusable modules, making it easier to maintain and update your design over time. With modular patterns, you can focus on creating a seamless user experience, rather than getting bogged down in complex design elements. It’s a game-changer for designers looking to streamline their workflow and create stunning, cohesive designs.
Responsive Grid Systems Unleashed
When it comes to bento grid layouts, one of the most powerful tools in our design toolkit is the responsive grid system. This is where things get really exciting, as we can create layouts that seamlessly adapt to different screen sizes and devices. By using a combination of flexible grids and media queries, we can ensure that our designs look and function perfectly, whether our users are on a desktop, tablet, or smartphone.
This responsiveness is key to creating a truly immersive user experience, as it allows us to craft designs that are tailored to each individual device and screen size. With a responsive grid system, we can create complex, multi-column layouts that simplify to a single column on smaller screens, ensuring that our content is always easy to read and navigate.
5 Bite-Sized Tips to Supercharge Your Bento Grid Layouts
- I use a mix of grid and flexbox to create insane flexibility in my layouts
- Play with different grid ratios to find the perfect balance for your content
- Don’t be afraid to add a little whitespace – it’s like the sauce that brings everything together
- Experiment with layering different grid systems for a truly unique look
- Remember, the key to a killer bento grid layout is to keep it simple, yet impactful – don’t overcomplicate things!
Key Takeaways from Bento Grid Layouts
I’ve learned that using bento grid layouts can totally transform my designs, making them more organized and visually appealing – it’s a simple yet powerful technique to master
By embracing responsive grid systems and modular web design patterns, I can create flexible and efficient layouts that adapt seamlessly to different devices and screen sizes
Ultimately, the beauty of bento grid layouts lies in their ability to balance structure and creativity, allowing me to craft unique and engaging user interfaces that leave a lasting impression
The Bento Grid Layout Epiphany
Bento grid layouts are like a breath of fresh air for designers – they’re all about embracing simplicity, consistency, and a whole lot of creativity, making the entire design process a whole lot more delicious!
Luna Spark
Conclusion
In conclusion, our journey through Bento Grid Layouts has been an exciting one, filled with discoveries about how to create more organized and visually appealing designs. We’ve covered the main step-by-step instructions for implementing bento grid layouts, and delved into the specifics of responsive grid systems and modular web design patterns. By understanding and applying these concepts, designers can create websites that are not only beautiful but also highly functional and user-friendly.
As we move forward, it’s essential to remember that the true power of bento grid layouts lies in their ability to simplify complexity and bring order to chaos. By embracing this design philosophy, we can create digital experiences that are both intuitive and engaging, leaving a lasting impression on our users. So, let’s continue to push the boundaries of what’s possible with Bento Grid Layouts, and see where this design journey takes us.
Frequently Asked Questions
How do I decide on the optimal number of columns for my bento grid layout?
Honestly, choosing the right number of columns for your bento grid layout is all about balance. I like to start with a classic 3-5 column setup and adjust from there, considering the content and overall aesthetic I’m aiming for. It’s all about finding that sweet spot where your design feels harmonious and easy to navigate.
Can bento grid layouts be used in conjunction with other design patterns for enhanced visual appeal?
I love experimenting with bento grid layouts alongside other design patterns – it’s amazing how they can elevate each other. Try pairing them with minimalism or brutalism for a striking contrast, or with asymmetry for a bold, dynamic look. The key is to balance harmony and tension, creating a visual story that draws the viewer in.
What are some common pitfalls to avoid when implementing responsive bento grid systems?
Honestly, I’ve fallen into a few traps myself – like not accounting for different screen sizes or overcomplicating the layout. To avoid those headaches, make sure to test your design on various devices and keep your grid system simple and flexible. Trust me, it’s a total lifesaver!