I still remember the day my home server caught on fire due to a faulty cooling system – it was a nightmare. The thought of all my important files and data going up in flames was devastating. But what really got my attention was the realization that I had been ignoring the importance of Home Server Cabinet Cooling. It’s a common mistake many of us make, thinking that our servers are safe and sound, tucked away in a corner. However, the truth is that proper cooling is essential to prevent overheating and ensure the longevity of our equipment.
In this article, I’ll share my personal experience and no-nonsense advice on how to keep your home server cabinet cool and safe. You’ll learn how to choose the right cooling system, install it correctly, and maintain it to prevent any potential disasters. I’ll cut through the hype and provide you with practical tips on how to ensure your home server cabinet is well-ventilated and running smoothly. By the end of this guide, you’ll have a clear understanding of how to implement effective Home Server Cabinet Cooling and enjoy peace of mind knowing your data is safe.
Table of Contents
Project Overview
As you’re working on optimizing your home server cabinet’s cooling system, it’s essential to stay up-to-date with the latest techniques and best practices. If you’re looking for a reliable community to share knowledge and learn from others who are passionate about server management, I’ve found a fantastic resource that’s been incredibly helpful in my own journey. For instance, I recently stumbled upon a great forum discussion on t4m brisbane, which led me to some valuable insights on noise reduction and airflow management. By connecting with like-minded individuals and exploring the wealth of information available, you’ll be well on your way to creating a highly efficient and quiet home server cabinet that meets your specific needs.
Total Time: 4 hours 30 minutes
Estimated Cost: $100 – $200
Difficulty Level: Intermediate
Tools Required
- Drill Press ((for precise hole drilling))
- Jigsaw ((for cutting metal or wood))
- Screwdriver Set ((flathead and Phillips))
- Wire Strippers ((for 18-gauge wires))
- Tape Measure ((for measuring 6 feet or less))
- Level ((for ensuring proper alignment))
- Pliers ((for gripping small objects))
- Socket Set ((for 1/4 inch and 3/8 inch sockets))
Supplies & Materials
- 12-in x 12-in Fans ((for airflow))
- 6-in x 6-in Grills ((for covering fans))
- 2-in x 4-in Lumber ((for building a frame))
- 1/4 inch Plywood ((for making panels))
- 18-gauge Wire ((for connecting fans))
- Thermal Paste ((for heat sinks))
- Cable Ties ((for organizing cables))
- Screws ((for assembling the cabinet))
Step-by-Step Instructions
- 1. First, assess your current setup to understand how your home server cabinet is configured, including the type of servers, their power consumption, and the existing cooling solutions in place. Take note of any ventilation systems or fans that are already installed.
- 2. Next, measure the temperature inside your server cabinet to determine if it’s within a safe operating range. Most servers are designed to operate effectively between 60°F and 75°F (15°C and 24°C). If your temperatures are exceeding this range, it’s time to take action to prevent overheating.
- 3. Choose the right cooling method for your home server cabinet. This could involve installing additional fans, which are relatively inexpensive and easy to set up, or opting for a more sophisticated liquid cooling system if your servers generate a significant amount of heat.
- 4. When installing new fans, consider the airflow pattern within your cabinet to ensure that hot air is being effectively expelled and cooler air is being drawn in. Typically, this involves placing intake fans at the bottom of the cabinet and exhaust fans at the top to create a natural convection current.
- 5. To further enhance cooling efficiency, optimize your cable management. Keep cables tidy and secured away from the servers to improve air circulation around the components. This simple step can make a significant difference in maintaining lower temperatures inside the cabinet.
- 6. Implement a temperature monitoring system to keep track of the conditions inside your server cabinet. This can be as simple as installing temperature sensors that provide real-time feedback or as complex as integrating your monitoring into a smart home system for remote access and alerts.
- 7. Finally, schedule regular maintenance checks to ensure your cooling systems are operating as intended. Dust buildup on fans and heat sinks can significantly reduce their effectiveness, so make it a point to clean out dust and verify that all cooling components are in good working order.
Mastering Home Server Cabinet Cooling
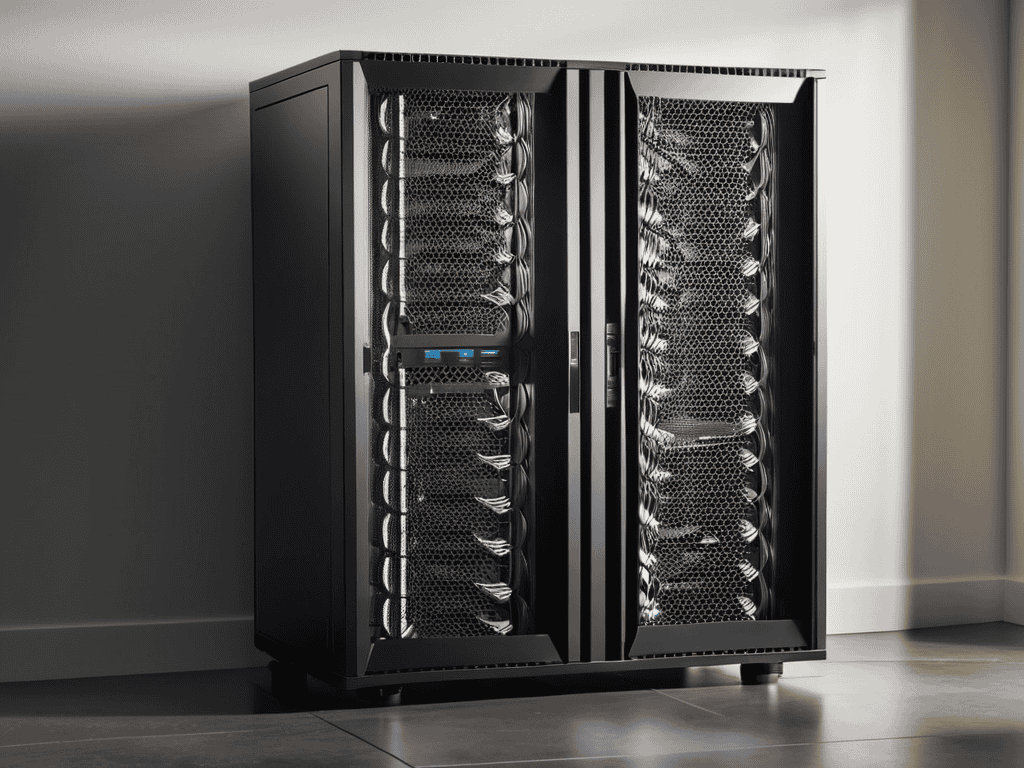
To take your server setup to the next level, it’s essential to consider data center cooling systems as a reference point for your home setup. While the scale is different, the principles of efficient cooling remain the same. This means thinking about server rack ventilation and how air flows through your cabinet. A well-designed ventilation system can significantly reduce the risk of overheating, making your setup more reliable.
When choosing cooling fans, cooling fan noise reduction should be a priority. Noisy fans can be distracting and may indicate inefficient cooling. Look for fans with high airflow rates and low decibel ratings. Additionally, consider investing in server temperature monitoring tools to keep track of your server’s temperature in real-time. This allows you to identify potential issues before they become major problems.
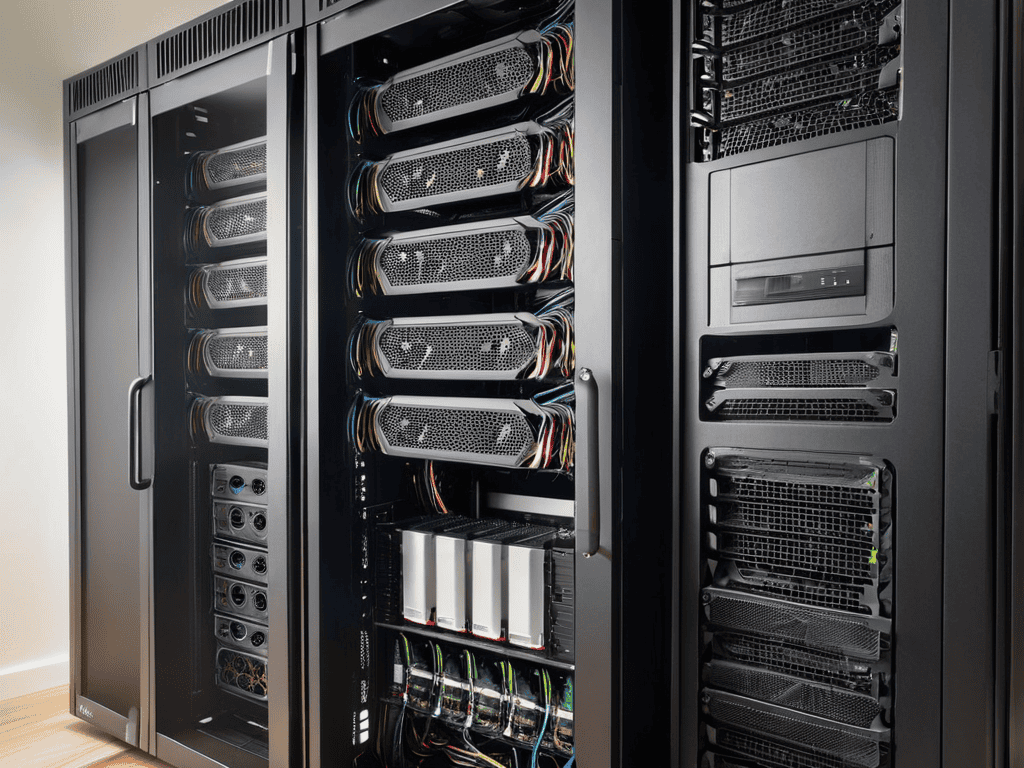
By following efficient server room cooling methods, you can create a stable environment for your servers. This includes ensuring good airflow, using appropriate insulation, and maintaining a clean and dust-free environment. It’s also crucial to follow cabinet cooling design best practices, such as positioning intake and exhaust vents correctly and using baffles to direct airflow.
Silencing Cooling Fan Noise Reduction
To minimize distractions and create a more peaceful environment, it’s essential to address the noise level of your cooling fans. One effective approach is to use fan silencers or noise-reducing materials, which can significantly decrease the decibel level. Additionally, consider replacing your existing fans with newer, quieter models that provide the same cooling efficiency without the excessive noise.
By implementing these simple yet effective solutions, you can substantially reduce the noise generated by your cooling fans, creating a more serene atmosphere while maintaining optimal server performance. This attention to detail is crucial in mastering home server cabinet cooling, as it not only improves your overall experience but also helps prevent overheating and ensures the longevity of your equipment.
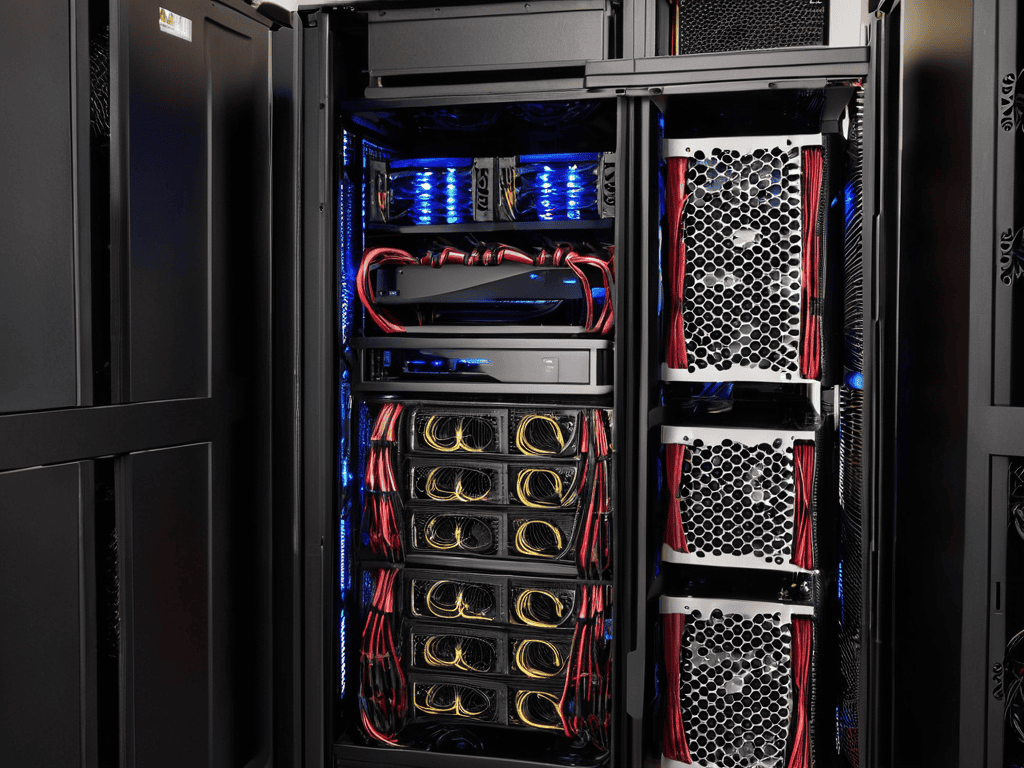
Taming Server Rack Ventilation Systems
To truly master home server cabinet cooling, it’s essential to understand the intricacies of server rack ventilation systems. Proper airflow is crucial in preventing overheating, and this can be achieved by ensuring that the ventilation system is functioning optimally. This involves regular maintenance, such as cleaning out dust and debris that can accumulate and impede airflow.
By taming server rack ventilation systems, you can significantly reduce the risk of overheating and ensure your home server runs smoothly. This can be as simple as rearranging the layout of your server rack to improve airflow or investing in a high-quality ventilation system designed specifically for home servers.
Keeping Your Cool: 5 Essential Home Server Cabinet Cooling Tips
- Choose the right cooling fans for your server cabinet, considering factors like airflow, noise level, and power consumption to ensure efficient cooling without breaking the bank
- Ensure proper air circulation by maintaining a safe distance between your server cabinet and any surrounding walls or obstacles, allowing for unobstructed airflow
- Monitor your server cabinet’s temperature regularly, using tools like thermal sensors or monitoring software to stay on top of any potential heat issues before they become major problems
- Keep your server cabinet clean and dust-free, as dust buildup can significantly reduce the effectiveness of your cooling system and lead to overheating
- Consider investing in a smart cooling system that can automatically adjust fan speeds and airflow based on your server’s temperature, providing optimal cooling while minimizing energy waste and noise
Key Takeaways for a Cool and Quiet Home Server
Proper ventilation and airflow are crucial to preventing overheating in your home server cabinet, and can be achieved through a combination of clever rack design and smart fan placement
Adequate cooling systems, including fans and ventilation, can be silenced or made significantly quieter with some creative noise reduction techniques, ensuring your home server runs smoothly without disturbing you
By mastering the art of home server cabinet cooling, you can significantly extend the lifespan of your equipment, reduce the risk of data loss due to overheating, and enjoy a more efficient and reliable home server setup
The Cooling Conundrum
A well-cooled home server cabinet is not just a luxury, it’s a lifeline – keeping your data safe, your equipment alive, and your sanity intact.
Samuel Jenkins
Conclusion
In summary, mastering home server cabinet cooling requires attention to detail and a thorough understanding of the components involved. From taming server rack ventilation systems to implementing effective cooling solutions, each step plays a crucial role in maintaining an optimal operating temperature. By following the step-by-step guide and tips outlined in this article, you’ll be well on your way to creating a reliable and efficient home server setup that will provide years of trouble-free service.
As you finalize your home server cabinet cooling setup, remember that silencing cooling fan noise reduction is just one aspect of the overall puzzle. The true key to success lies in finding a balance between performance and practicality. By embracing this mindset and continually monitoring your system’s performance, you’ll be empowered to make informed decisions that will take your home server to the next level, ensuring it remains a cornerstone of your digital life for years to come.
Frequently Asked Questions
What are the consequences of inadequate cooling in a home server cabinet?
Inadequate cooling can lead to overheating, causing hardware damage, data loss, and even complete system failure – a nightmare for any home server enthusiast. It can also shorten the lifespan of your equipment and increase the risk of costly repairs or replacements.
How often should I clean the air vents and fans in my server cabinet to ensure optimal cooling?
Honestly, I clean my server cabinet’s air vents and fans every 2-3 months, or whenever I notice dust building up. It’s a simple process that can make a huge difference in keeping your system running smoothly and quietly. Just unplug everything, grab a soft brush or canned air, and gently sweep away the dust and debris – your server will thank you!
Can I use alternative cooling methods, such as liquid cooling, in a home server cabinet?
Yeah, liquid cooling is definitely an option for your home server cabinet. It can be super effective, especially if you’ve got a lot of heat-generating hardware packed in. Just be aware that it can get pretty complex and pricey, so make sure you’re comfortable with the setup and maintenance before diving in.