I still remember the first time I tackled a Grout Restoration & Sealing project – it was a nightmare. The outdated grout in my bathroom had become a breeding ground for dirt and grime, making the entire space look dingy. But what really got my goat was the plethora of misleading advice online, claiming that restoring grout to its former glory was a simple, DIY-friendly task. The truth is, it’s not as easy as it sounds, and most people end up making it worse. That’s why I’m excited to share my hard-earned knowledge on Grout Restoration & Sealing, to help you avoid the pitfalls I fell into.
In this article, I’ll cut through the hype and provide you with practical, no-nonsense advice on how to restore your grout and keep it looking fresh with a good seal. You’ll learn how to assess the damage, choose the right materials, and execute a flawless restoration plan. Whether you’re a homeowner looking to revamp your bathroom or a business owner seeking to enhance your facility’s appearance, this guide will walk you through the Grout Restoration & Sealing process with ease. By the end of this article, you’ll be equipped with the knowledge to tackle even the toughest grout restoration projects and achieve professional-looking results.
Table of Contents
Project Overview
Total Time: 4 hours 30 minutes
Estimated Cost: $50 – $100
Difficulty Level: Intermediate
Tools Required
- Grout Saw ((for removing old grout))
- Grout Float ((for applying new grout))
- Grout Sponge ((for cleaning excess grout))
- Sealant Applicator ((for applying grout sealer))
- Putty Knife ((for scraping out old grout))
- Cleaning Brush ((with soft bristles, for cleaning grout lines))
- Measuring Cup ((for mixing grout and sealer))
- Mixing Stick ((for mixing grout and sealer))
- Rags ((for wiping away excess sealer))
- Safety Gloves ((for protecting hands from chemicals))
- Safety Goggles ((for protecting eyes from chemicals))
Supplies & Materials
- Grout ((matching the original grout color))
- Grout Sealer ((clear or colored, depending on preference))
- Grout Additive ((optional, for improving grout durability))
- Water ((for mixing grout and sealer))
- Cleaning Solution ((for cleaning grout lines before restoration))
Step-by-Step Instructions
- 1. First, prepare the area by clearing the floor of any furniture, rugs, or items that could get in the way of the restoration process. This will give you a clean slate to work with and prevent any damage to your belongings. Sweep or vacuum the floor to remove any debris, dust, or dirt that may be accumulated on the surface.
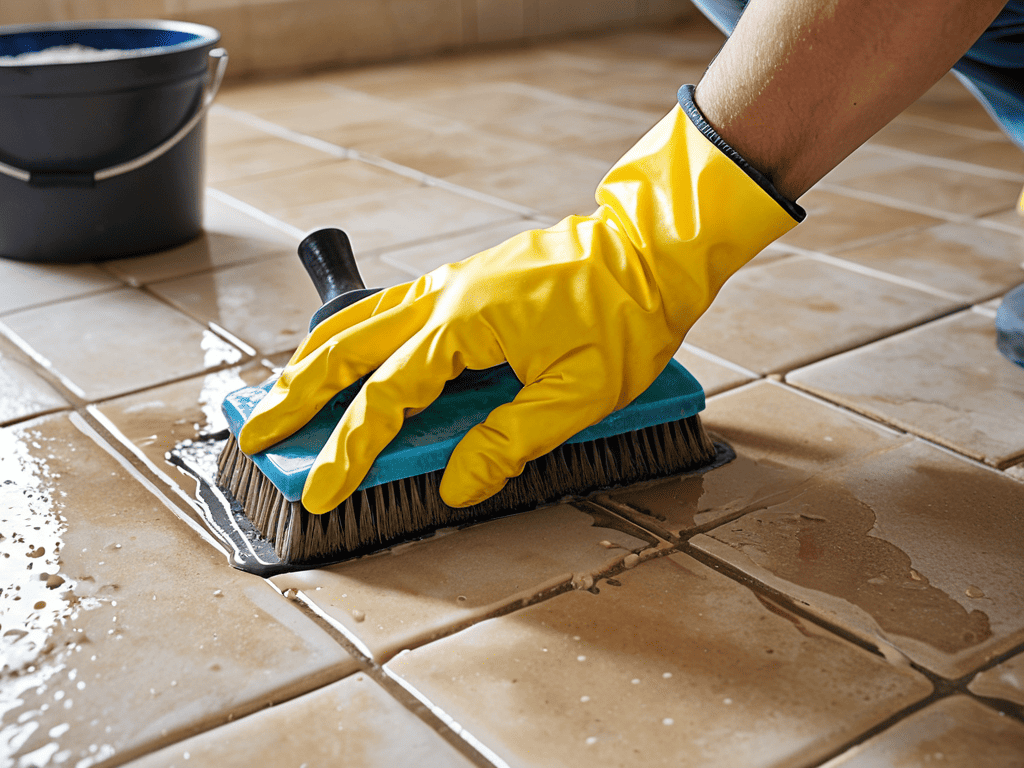
- 2. Next, mix the grout cleaner according to the manufacturer’s instructions and apply it to the grout lines using a soft-bristled brush or an old toothbrush. Make sure to cover the entire grout surface, but avoid getting the cleaner on the surrounding tiles. Let it sit for about 10-15 minutes to allow the cleaner to penetrate and loosen the dirt.
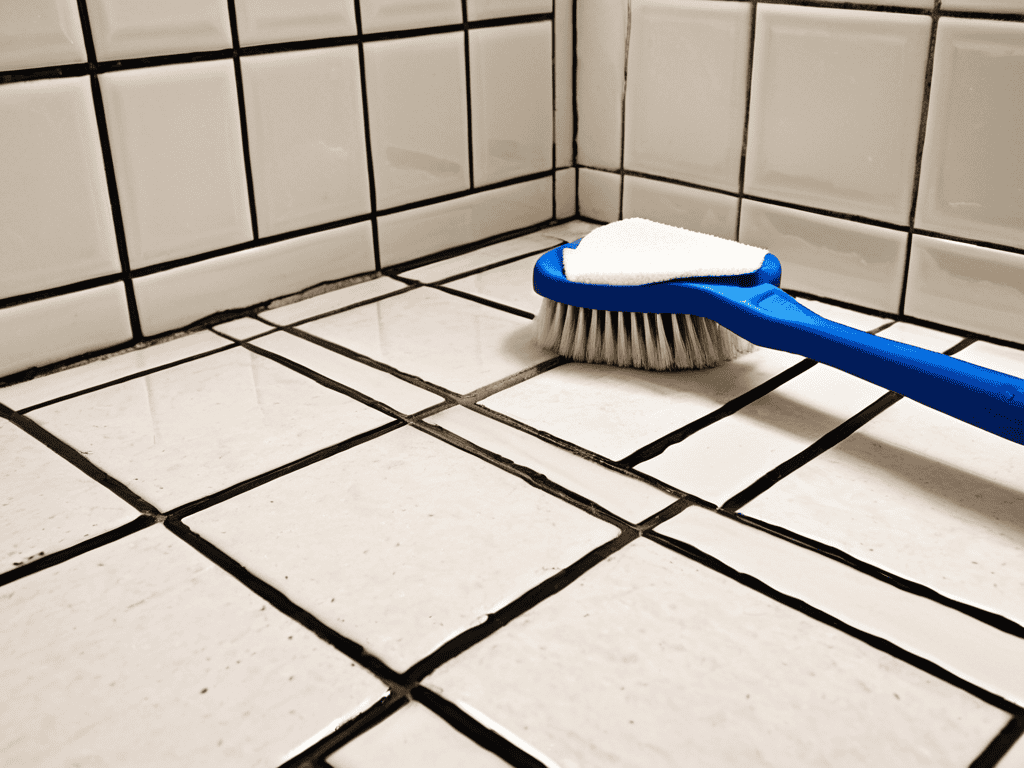
- 3. Now, scrub the grout using a grout brush or an old toothbrush, working in small sections to remove the dirt and grime. Use a gentle circular motion to scrub away the stains, and then use a damp cloth to wipe away the cleaner and dirt. Repeat this process until the grout lines start to look cleaner and more even.
- 4. After scrubbing, rinse the area thoroughly with clean water to remove any remaining cleaner or dirt. Use a mop or a wet vacuum to remove excess water from the floor, and then let it air dry for about 30 minutes to an hour. This will help prevent any further dirt or debris from accumulating on the surface.
- 5. Once the floor is dry, apply the grout sealer using a foam brush or a lambswool applicator, following the manufacturer’s instructions for application and drying times. Make sure to cover the entire grout surface, but avoid getting the sealer on the surrounding tiles. Use a clean, dry cloth to wipe away any excess sealer that may have gotten on the tiles.
- 6. Allow the sealer to dry completely, according to the manufacturer’s instructions, which can range from 30 minutes to several hours, depending on the type of sealer used. Once it’s dry, inspect the grout lines to make sure they’re evenly coated and looking good as new.
- 7. Finally, test the seal by dripping a small amount of water onto the grout surface. If the water beads up and rolls off, the seal is working properly. If not, you may need to reapply the sealer or consult a professional for further assistance. With these steps, you should be able to achieve a professional-looking finish that will make your tile floors look like new again.
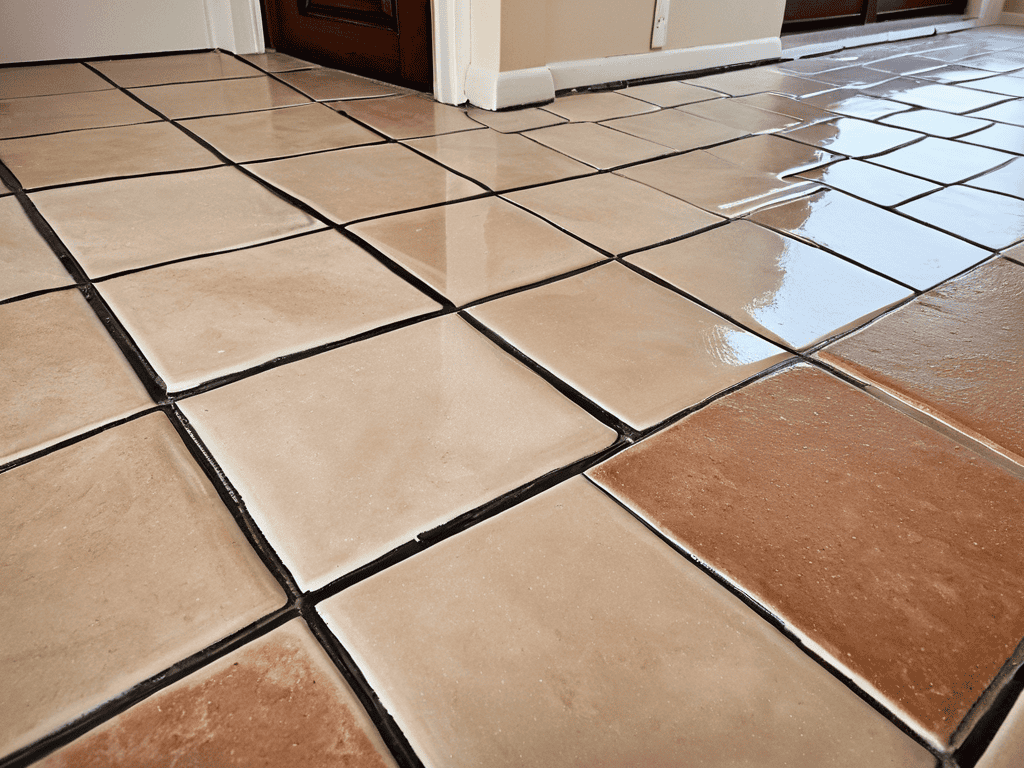
Grout Restoration Sealing
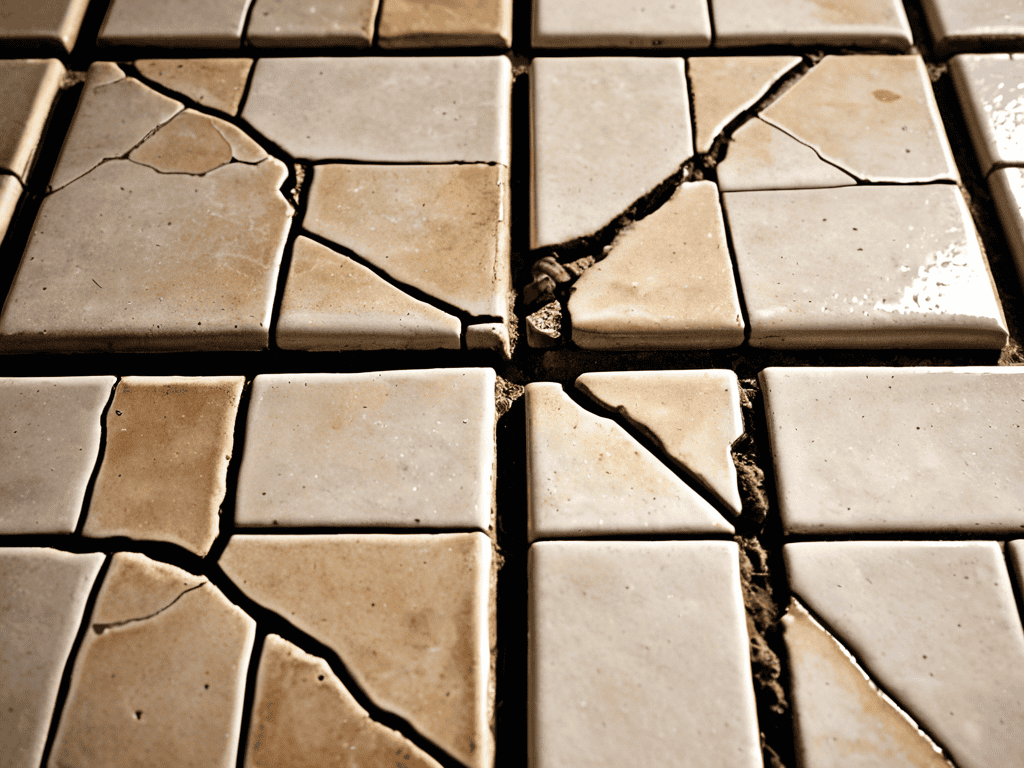
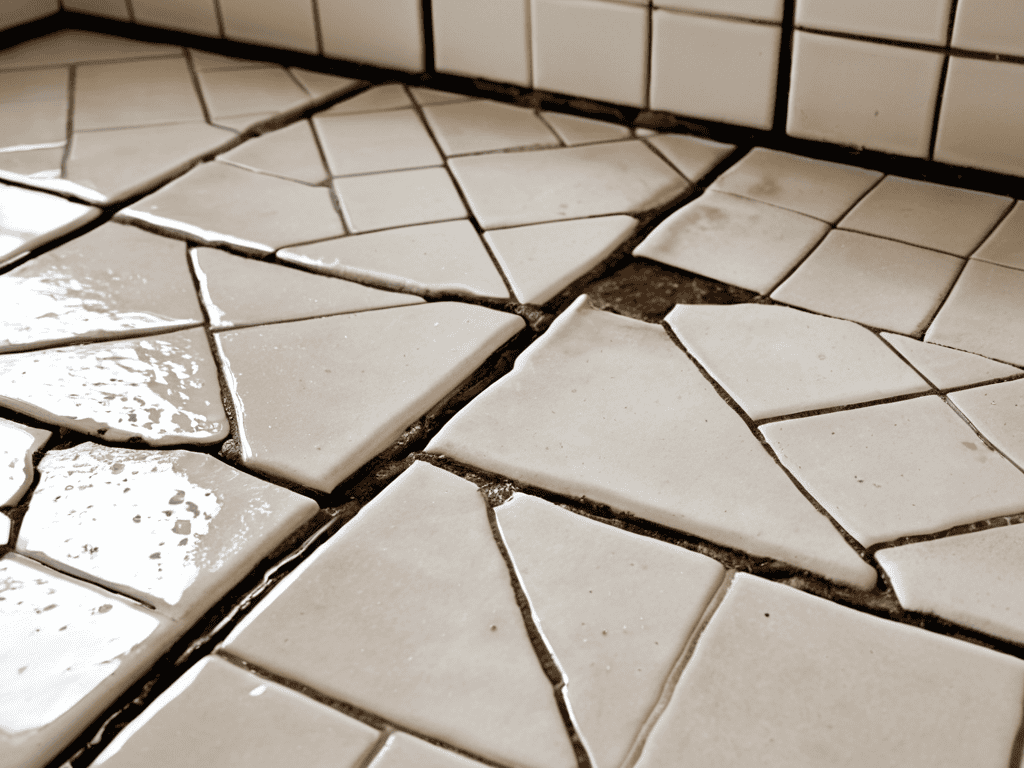
When it comes to restoring your grout, it’s essential to consider the grout repair techniques that will work best for your specific situation. For example, if you’re dealing with a small area of damaged grout, a simple replacement might be the way to go. However, if you’re looking to restore an entire floor or wall, you may need to use a combination of techniques, including cleaning, regrouting, and sealing.
As you’re working on restoring your grout to its former glory, it’s essential to have a solid understanding of the materials and techniques involved. For those looking to take their grout restoration skills to the next level, I highly recommend checking out some online resources that specialize in home improvement projects. You can find a wealth of information on websites that offer tutorials, tips, and tricks for tackling various DIY tasks, including grout restoration. For instance, if you’re looking for a local guide to help you find the best materials or services in your area, you might stumble upon a website like sex treffen in dresden, which, although not directly related to home improvement, can give you an idea of how local online resources can be useful in finding what you need. By leveraging these resources, you’ll be well on your way to achieving professional-looking results and enjoying the satisfaction of a job well done, with your newly restored grout looking absolutely stunning.
In addition to the right techniques, using the best grout sealers for bathrooms can make a huge difference in the longevity and appearance of your grout. These sealers are specifically designed to withstand the moisture and humidity of bathroom environments, helping to prevent mold and mildew from taking hold. By investing in a high-quality sealer, you can help keep your grout looking its best for years to come.
For those who prefer a more hands-off approach, tile and grout cleaning services can be a great option. These professional services can help restore your grout to its former glory, using specialized equipment and techniques to remove dirt, grime, and other substances that can damage your grout over time. Whether you’re looking to DIY or hire a pro, the key is to find a solution that works for you and your unique situation.
Best Grout Sealers for Bathrooms
When it comes to bathrooms, choosing the right grout sealer is crucial due to the high moisture levels. Look for sealers that are water-resistant and mold/mildew-resistant. Some popular options include penetrating sealers, which absorb into the grout, and topical sealers, which form a barrier on the surface.
Topical sealers are often preferred in bathrooms as they provide an extra layer of protection against water and stains. Always read reviews and follow manufacturer instructions for application and maintenance to ensure the best results.
Mastering Grout Repair Techniques
To truly master grout repair techniques, it’s essential to understand the nuances of working with different types of grout and tile. This includes recognizing when to use epoxy-based grouts, which offer superior durability, and when to opt for more traditional cement-based grouts. Additionally, being able to identify and address underlying issues, such as water damage or poor installation, is crucial for a successful repair.
By combining the right materials with a deep understanding of the repair process, you can achieve professional-looking results that extend the life of your tile surfaces. This expertise allows for a seamless integration of new grout with the existing, ensuring a uniform appearance that enhances the overall aesthetic of the space.
Seal the Deal: 5 Expert Tips for a Flawless Grout Restoration
- Assess the Damage: Before starting your grout restoration project, take a close look at the condition of your grout to determine the best course of action
- Cleanliness is Key: Make sure to thoroughly clean the grout lines before applying any new grout or sealant to ensure a strong bond and optimal results
- Choose the Right Sealer: With so many grout sealers on the market, selecting the right one for your specific needs can be overwhelming – consider factors like durability, maintenance, and appearance
- Don’t Skip the Prep Work: Properly preparing the surface, including removing old grout and cleaning the area, is crucial for a successful grout restoration and sealing project
- Test a Small Area First: Before applying a new sealer or grout to the entire area, test it on a small, inconspicuous section to ensure the desired results and avoid any potential disasters
Key Takeaways for a Successful Grout Restoration & Sealing
By mastering grout repair techniques and using the best grout sealers, you can significantly extend the life of your tile floors and keep them looking their best
Regular maintenance and sealing are crucial to prevent dirt and grime from accumulating in the grout, making future cleaning and restoration easier
Choosing the right sealer for your specific tile type and traffic conditions is vital to ensure a durable and long-lasting seal that enhances the appearance of your grout and protects it from stains and damage
The Power of Renewal
Restoring grout is not just about fixing a surface, it’s about reviving the soul of a space – where every clean line and vibrant color tells a story of renewal and possibility.
Emily J. Miller
Conclusion
In conclusion, restoring and sealing your grout can be a game-changer for the overall appearance and longevity of your tiles. By following the step-by-step guide and mastering grout repair techniques, you can achieve professional-looking results without breaking the bank. Remember to choose the best grout sealer for your specific needs, especially in high-moisture areas like bathrooms, to ensure a durable and long-lasting finish.
As you complete your grout restoration and sealing project, take a step back and admire your handiwork – the transformation from grimy to gorgeous is not only satisfying, but it also adds value to your home. With your newfound skills and knowledge, you’ll be empowered to tackle future tile and grout projects with confidence, and you’ll be able to enjoy the beauty and functionality of your newly restored spaces for years to come.
Frequently Asked Questions
How often should I seal my grout to maintain its appearance and durability?
To keep your grout looking its best, seal it every 5-10 years, or as needed. If you notice it’s starting to stain or look dull, it’s probably time for a fresh coat. In high-traffic areas or bathrooms, you may need to seal more frequently – every 1-5 years.
Can I use a generic grout sealer for all types of tile, or are there specific products for different materials?
Not all grout sealers are created equal. While some generic sealers might work, others are specifically designed for certain tile materials, like natural stone or glass. Using the wrong one can damage your tile or leave it looking dull. It’s best to choose a sealer that’s specifically formulated for your tile type to ensure a strong bond and long-lasting protection.
What are the most common mistakes to avoid when attempting a DIY grout restoration and sealing project?
Don’t rush the cleaning process, and make sure to remove all old grout and debris. Also, avoid applying too much sealer, as it can lead to a sticky mess. And, please, don’t skip the testing of your sealer on a small area first – it’s a game-changer to ensure the color and finish turn out right.