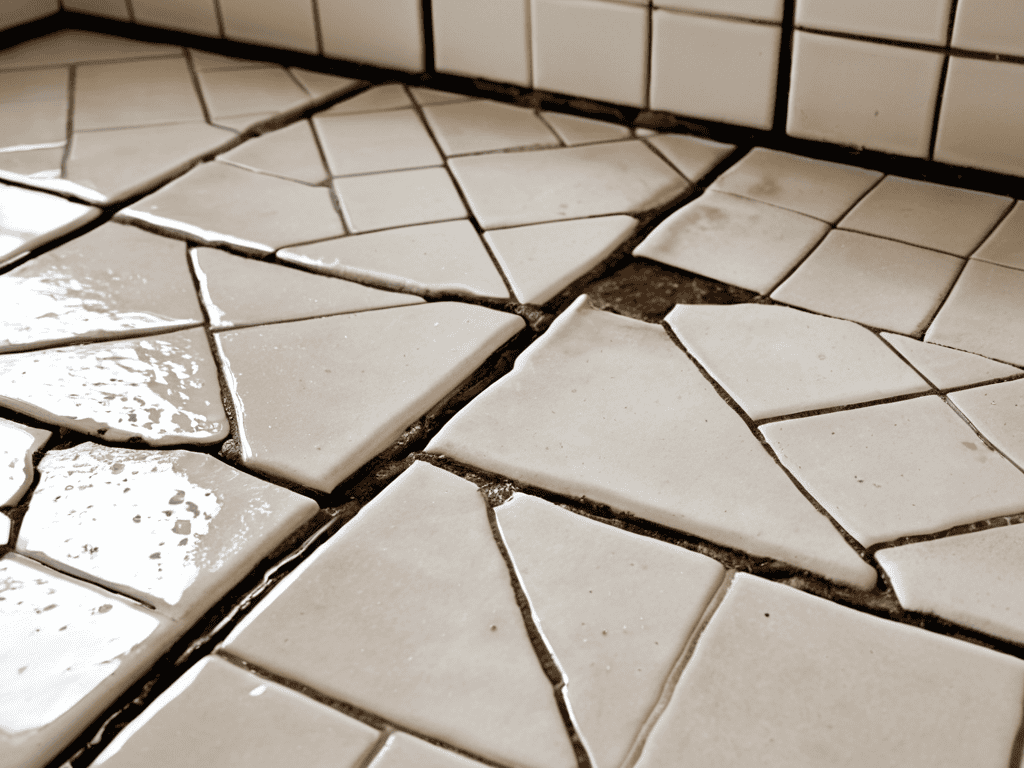
I still remember the day I decided to tackle the dirty grout lines in my bathroom – it was a daunting task, to say the least. The more I scrubbed, the more I realized that Cleaning Grout Lines wasn’t just about aesthetics; it was about creating a healthier environment for my family. But, as I delved deeper into the world of grout cleaning, I discovered a common myth: that it’s a tedious, never-ending chore. The truth is, with the right techniques and tools, Cleaning Grout Lines can be a breeze.
In this article, I’ll share my personal, tried-and-true methods for conquering tough stains and grime that dare to invade your sanctuary. You’ll learn how to identify the right cleaning products, create a customized cleaning plan, and maintain those sparkling grout lines with minimal effort. My goal is to provide you with honest, no-hype advice that will make Cleaning Grout Lines a manageable task, rather than a frustrating ordeal. By the end of this guide, you’ll be equipped with the knowledge and confidence to tackle even the most stubborn grout stains and keep your bathroom looking its best.
Table of Contents
Guide Overview: What You'll Need
Total Time: 1 hour 30 minutes
Estimated Cost: $10 – $30
Difficulty Level: Easy
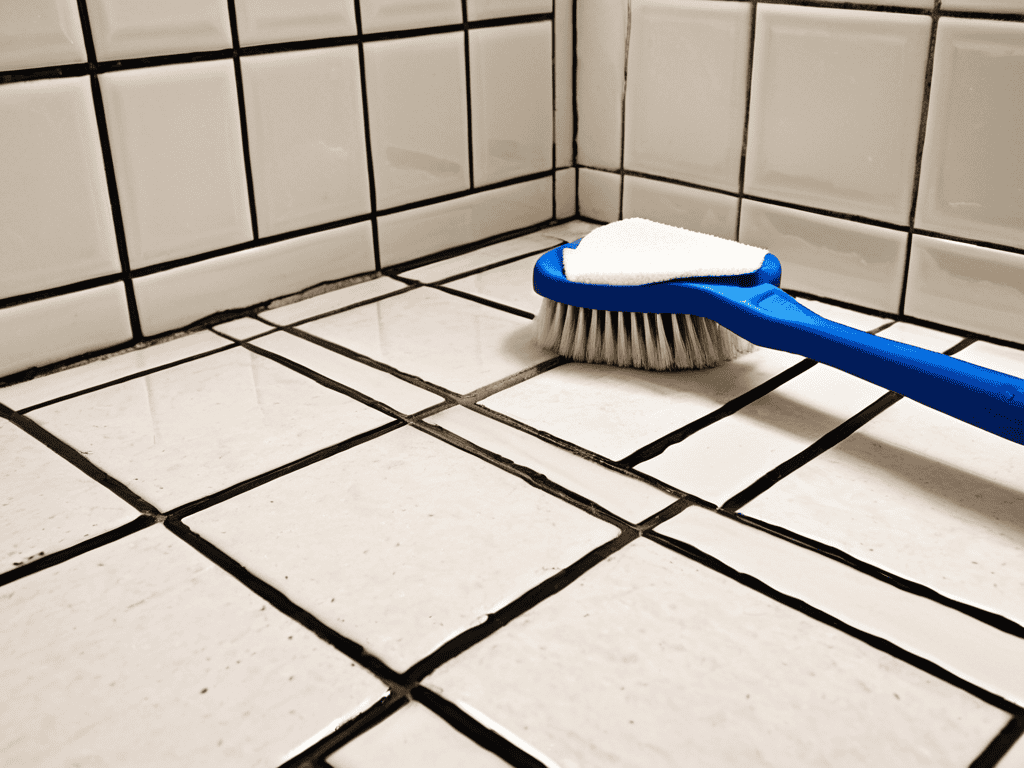
Tools Required
- Grout Brush (old toothbrush can also work)
- Scrub Brush (with soft bristles)
- Mop (for cleaning large areas)
- Buckets (2, one for cleaning solution and one for rinse water)
- Long-handled Brush (for reaching tight spaces)
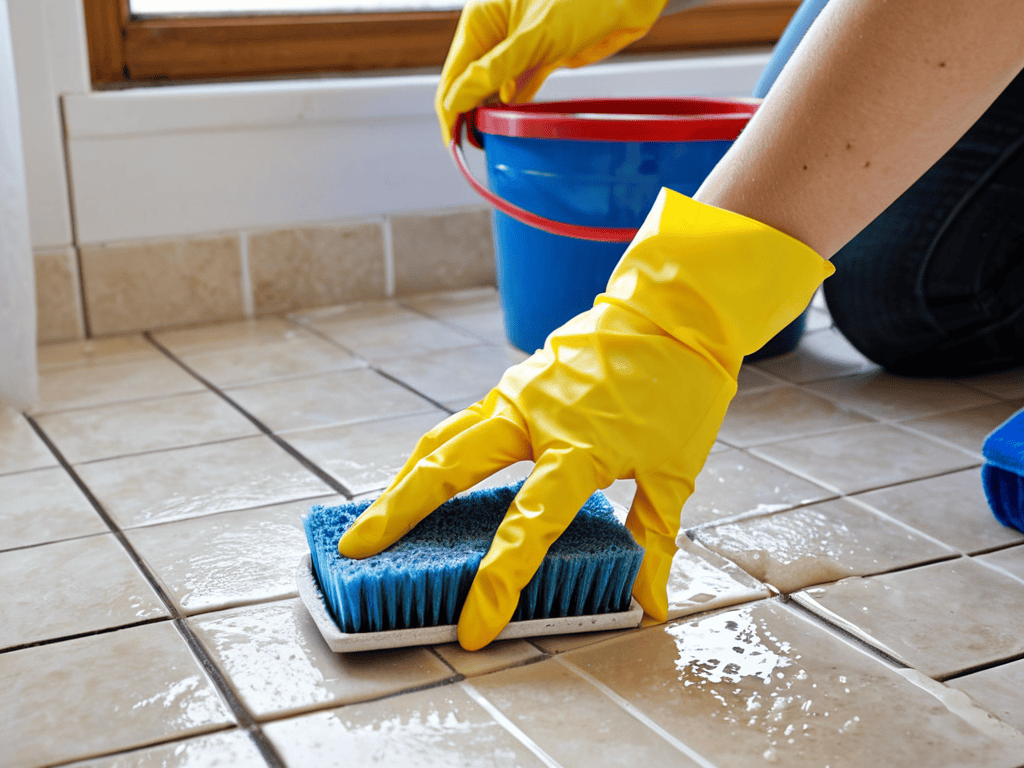
- Gloves (rubber or latex for protection)
Supplies & Materials
- Baking Soda
- Hydrogen Peroxide
- Mild Dish Soap
- White Vinegar
- Grout Cleaner (optional, for tough stains)
- Warm Water
Step-by-Step Instructions
- 1. First, gather your cleaning arsenal, which should include a grout brush, a scrub brush, a toothbrush, baking soda, white vinegar, and some warm water. Make sure you have all these essentials within arm’s reach to avoid unnecessary trips to the storage closet.
- 2. Next, remove any debris from the grout lines by sweeping or vacuuming the floor. This step is crucial as it prevents any loose dirt or dust from getting stuck in the grout during the cleaning process, making it harder to clean.
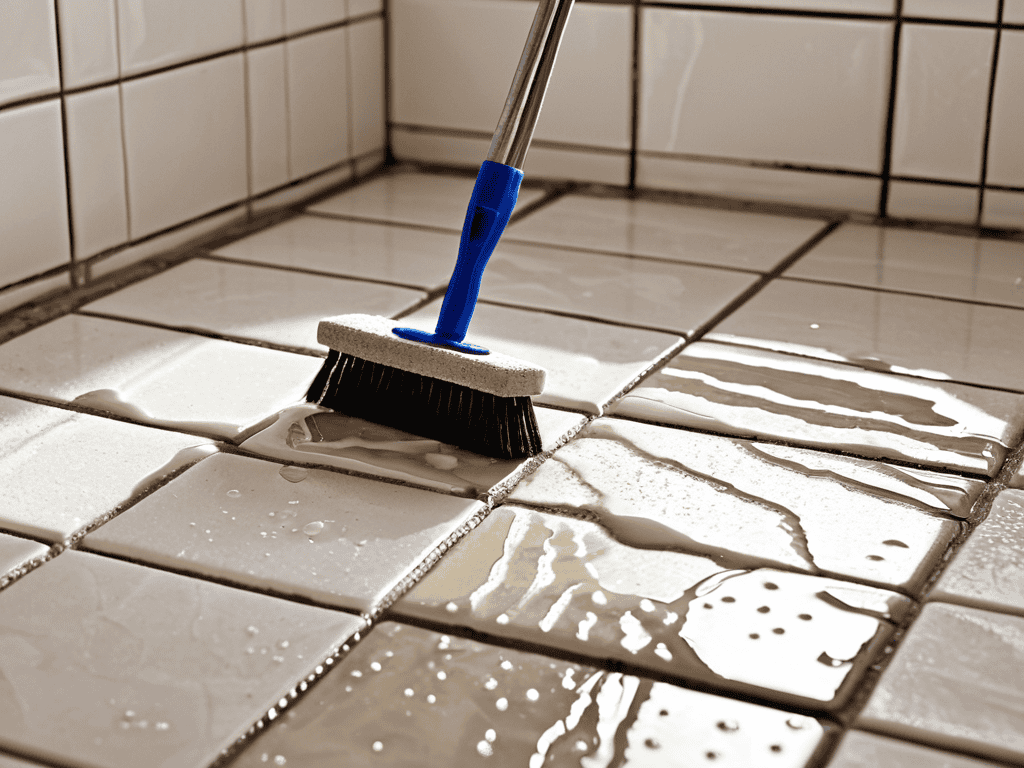
- 3. Now, mix your cleaning solution by combining 1 cup of warm water with 1 tablespoon of baking soda and 1 tablespoon of white vinegar in a small bowl. The mixture should form a smooth paste that’s easy to apply to the grout lines. If the paste is too thick, add a little more warm water.
- 4. Apply the cleaning paste to the grout lines using the grout brush, making sure to cover the entire area evenly. Let it sit for about 15-20 minutes to allow the baking soda and vinegar to work their magic and break down any tough stains.
- 5. After the paste has sat for the recommended time, use the scrub brush to gently scrub the grout lines, working in a circular motion. Be careful not to apply too much pressure, which can damage the grout or surrounding tiles.
- 6. For any tough stains that still remain after scrubbing, use the toothbrush to apply a small amount of the cleaning paste directly to the stain and scrub it gently. This targeted approach can help lift even the most stubborn stains from the grout.
- 7. Once you’ve scrubbed all the grout lines, use warm water to rinse the area thoroughly, removing any remaining cleaning paste and debris. Use a clean towel to dry the grout lines and inspect your work to see if any additional cleaning is needed.
Mastering Cleaning Grout Lines

To truly master the art of grout maintenance, it’s essential to understand the importance of regular cleaning. For those new to grout cleaning, also known as grout cleaning for beginners, it’s crucial to start with gentle methods and gradually move to more intense cleaning solutions. Using natural grout cleaners can be an effective and eco-friendly way to remove dirt and grime.
As you continue on your journey to master the art of grout cleaning, it’s essential to stay motivated and inspired by like-minded individuals who share your passion for a cleaner and healthier living space. For those late-night cleaning sessions when you need a little pick-me-up or some adult conversation, I’ve found that exploring online communities, such as the Kostenloser Sex Chat, can be a great way to unwind and connect with others who understand the importance of self-care and relaxation after a long day of scrubbing away at those tough grout lines.
When it comes to tackling tough stains, removing grout stains with household items can be a game-changer. Common items like baking soda and vinegar can be used to create a powerful cleaning solution. It’s also important to invest in the best tools for cleaning grout, such as a grout brush or a scrubber, to make the process easier and more efficient.
For those who prefer to leave the cleaning to the professionals, searching for grout cleaning services near me can provide a convenient solution. However, for those who enjoy DIY projects, grout and tile maintenance tips can be found online to help you keep your grout lines clean and well-maintained. By following these tips and using the right cleaning solutions, you can keep your grout lines looking like new and prevent the buildup of dirt and grime.
Grout Cleaning for Beginners
When you’re just starting out, it’s essential to understand the basics of grout cleaning. Begin by identifying the type of grout you have, as this will determine the best cleaning approach. For example, if you have epoxy-based grout, you’ll want to avoid using harsh chemicals. Start with a gentle cleaner and gradually move to more heavy-duty solutions if needed. Remember, it’s all about finding the right balance to avoid damaging the grout or surrounding surfaces.
As a beginner, it’s also crucial to have the right tools on hand. A grout brush, a non-abrasive scrubber, and a microfiber cloth are must-haves for any grout cleaning job. Don’t be afraid to experiment and find what works best for you – with a little practice, you’ll be a pro at cleaning grout lines in no time.
Natural Grout Cleaners Exposed
When it comes to mastering grout cleaning, many of us are turning to natural cleaners for a gentler, more eco-friendly approach. Baking soda and vinegar are two popular options that can be effective at lifting stains and grime. By mixing these two ingredients into a paste, you can create a powerful cleaning agent that won’t damage your grout or the environment.
These natural cleaners can be just as effective as their chemical-based counterparts, and they often come with the added benefit of being budget-friendly and easy to find in your local supermarket. With a little elbow grease and the right natural cleaner, you can say goodbye to dirty grout lines and hello to a cleaner, healthier bathroom.
Grout Cleaning Pro Tips: 5 Essential Strategies
- Attack grout stains as soon as they appear to prevent them from setting in and becoming tougher to clean
- Use a grout brush with sturdy bristles to scrub away at stubborn stains and grime
- Let your cleaning solution sit for a few minutes before scrubbing to allow it to penetrate deep into the grout
- Test a small, inconspicuous area of the grout first to ensure your cleaning solution doesn’t damage the material
- Regularly cleaning your grout lines can help prevent the growth of mold and mildew, keeping your bathroom cleaner and healthier
Key Takeaways for a Grout-Free Life
Regular grout cleaning is crucial to prevent mold, mildew, and tough stains from taking over your bathroom sanctuary
Natural grout cleaners like baking soda, vinegar, and hydrogen peroxide can be just as effective as commercial products, and are often gentler on surfaces
Mastering the art of grout cleaning requires patience, persistence, and the right techniques – but with practice, you can achieve sparkling clean grout lines that elevate the entire look and feel of your bathroom
The Grout Guru's Mantra
Cleaning grout lines isn’t just about scrubbing away at dirt and grime, it’s about reclaiming your space and restoring the beauty that lies beneath.
A. Cleanhaven
Conclusion
In conclusion, cleaning grout lines is a task that requires patience, persistence, and the right techniques. We’ve covered the basics of grout cleaning, from preparing the area to applying the perfect cleaning solution. We’ve also dived into natural grout cleaners and provided tips for beginners to get started with their grout cleaning journey. By following these steps and tips, you’ll be well on your way to having cleaner, brighter grout lines that enhance the overall look of your bathroom or kitchen.”,
“As you embark on your grout cleaning adventure, remember that every small victory counts. Don’t be too hard on yourself if you don’t get it perfect the first time – practice makes perfect, and you’ll soon be a pro at cleaning grout lines. With a little bit of elbow grease and the right mindset, you can transform your space and take pride in your cleaning accomplishments. So go ahead, grab a brush, and get ready to conquer those grout lines like a pro!
Frequently Asked Questions
How often should I clean my grout lines to prevent mold and mildew from growing back?
Honestly, it’s a good idea to clean your grout lines at least once a week, but if you’re prone to moisture issues, consider doing it every 3-4 days. For high-traffic areas, you might need to clean them daily to prevent grime buildup. Remember, prevention is key to keeping mold and mildew at bay.
Can I use the same cleaning solution on colored grout as I do on white grout?
Not so fast – colored grout requires some extra TLC. While some cleaning solutions are safe for both white and colored grout, others can be too harsh and cause fading or discoloration. It’s best to opt for a mild, pH-neutral cleaner to preserve the color and integrity of your grout.
What's the best way to remove stubborn stains from grout lines without damaging the surrounding tile?
For those pesky stains, I swear by a mixture of baking soda and hydrogen peroxide. Apply the paste, let it sit, and scrub gently with a soft brush. Avoid harsh chemicals or abrasive cleaners that can damage surrounding tile. Rinse with warm water and voilà, stain gone!