I still remember the day I decided to start building a raised garden bed in my backyard. It was a moment of pure frustration, as I gazed out at the barren, uninviting space that had once been a thriving garden. The myth that you need a green thumb to succeed at gardening had held me back for far too long. But as I began to dig and construct my raised bed, I realized that it’s not about being a natural gardener, it’s about creating a space that allows your plants to thrive.
As you embark on your own journey of building a raised garden bed, I want to assure you that this article will provide you with honest and practical advice. You won’t find any fancy gardening jargon or unrealistic expectations here. Instead, I’ll share my personal experience and the no-nonsense tips I’ve learned along the way. From choosing the right materials to maintaining your bed, I’ll guide you through the process with clarity and simplicity. By the end of this article, you’ll be equipped with the knowledge and confidence to create your own thriving raised garden bed, and start enjoying the many rewards that come with it.
Table of Contents
Project Overview
Total Time: 2 hours 30 minutes
Estimated Cost: $50 – $100
Difficulty Level: Intermediate
Tools Required
- Shovel ((for digging and mixing soil))
- Tape measure ((for measuring lumber and garden bed dimensions))
- Square ((for ensuring corners are square))
- Drill ((with screwdriver and drill bits))
- Hammer ((for tapping screws into place))
- Level ((for ensuring the garden bed is level))
- Safety glasses ((for protecting eyes from debris))
- Work gloves ((for protecting hands from splinters and cuts))
Supplies & Materials
- 2-in x 6-in lumber ((for the frame of the garden bed))
- 2-in x 4-in lumber ((for the bottom of the garden bed))
- Wood screws ((for assembling the frame))
- Weather-resistant wood glue ((for reinforcing joints))
- Soil and compost ((for filling the garden bed))
- Gravel or landscape fabric ((for drainage and weed suppression))
- Wood sealant or finish ((optional, for protecting the wood from the elements))
Step-by-Step Instructions
- 1. First, let’s start by preparing the site for our raised garden bed. We need to clear the area of any debris, grass, or weeds. This will give us a clean slate to work with and prevent any potential problems down the line. Make sure to mark out the area where you want your raised bed to be, using a rope or hose to get a sense of the space.
- 2. Next, we need to gather our materials. This includes wooden planks or boards for the frame, soil, compost, and any other features we want to add, such as irrigation systems or trellises. It’s essential to choose high-quality wood that can withstand the elements and last for years to come. Consider using cedar or recycled plastic for a low-maintenance option.
- 3. Now it’s time to build the frame of our raised garden bed. Start by cutting the wooden planks to the desired length, using a saw or having them pre-cut at the hardware store. Then, use screws or nails to assemble the frame, making sure it is sturdy and level. This is the foundation of our garden, so take your time and get it right.
- 4. With the frame in place, we can start filling it with soil and compost. This is where the magic happens, and our garden starts to take shape. Add a layer of compost at the bottom for drainage and nutrient-rich soil on top. Mix it well to create a fertile ground for our plants to grow.
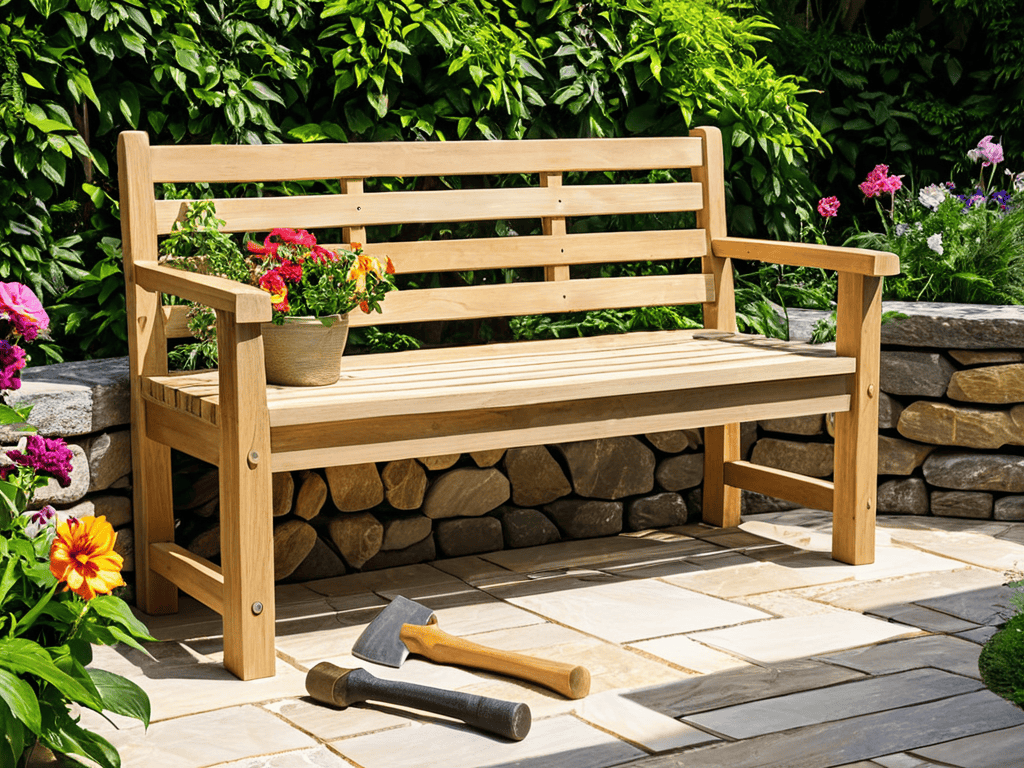
- 5. Once the soil is in place, it’s time to add any additional features we want. This could be an irrigation system to make watering easier, a trellis for climbing plants, or even a small bench to sit and enjoy our garden. Get creative and think about what will make your garden unique and functional.
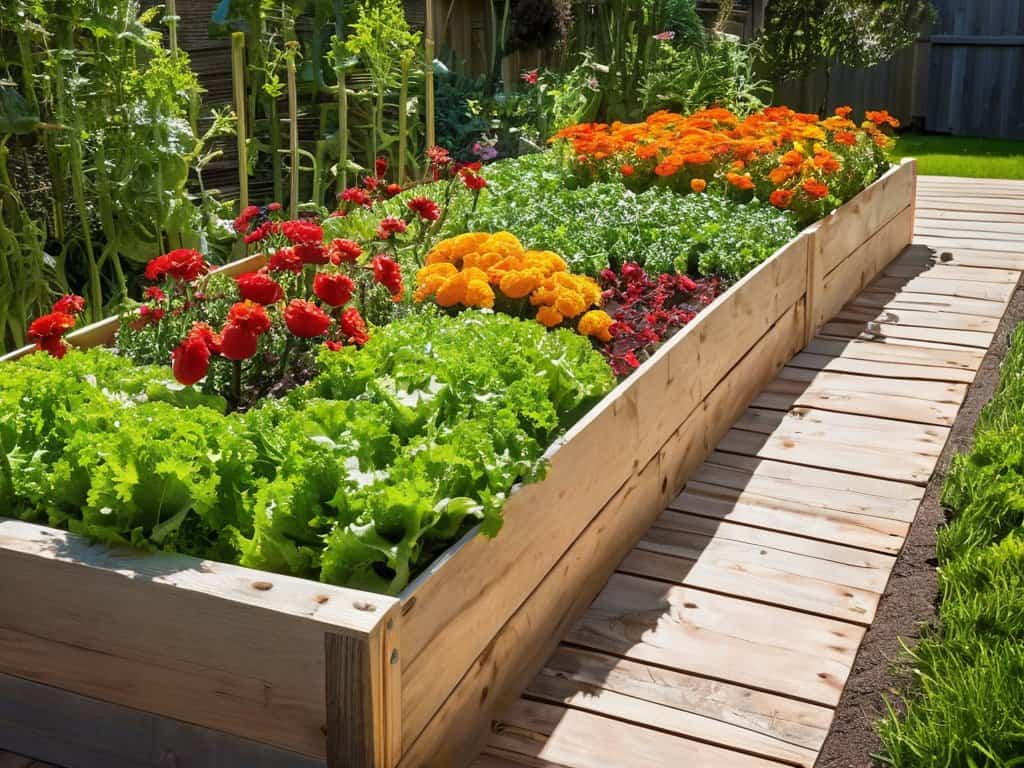
- 6. Now that our raised garden bed is built and filled, it’s time to add the plants. Choose a variety of flowers, vegetables, or herbs that thrive in your climate and provide a pop of color to your garden. Consider companion planting to create a harmonious and balanced ecosystem.
- 7. Finally, add a finishing touch to your raised garden bed. This could be a decorative edge, a layer of mulch, or even a small statue or ornament. This is your chance to personalize your garden and make it truly special. Stand back, admire your hard work, and get ready to enjoy the fruits of your labor.
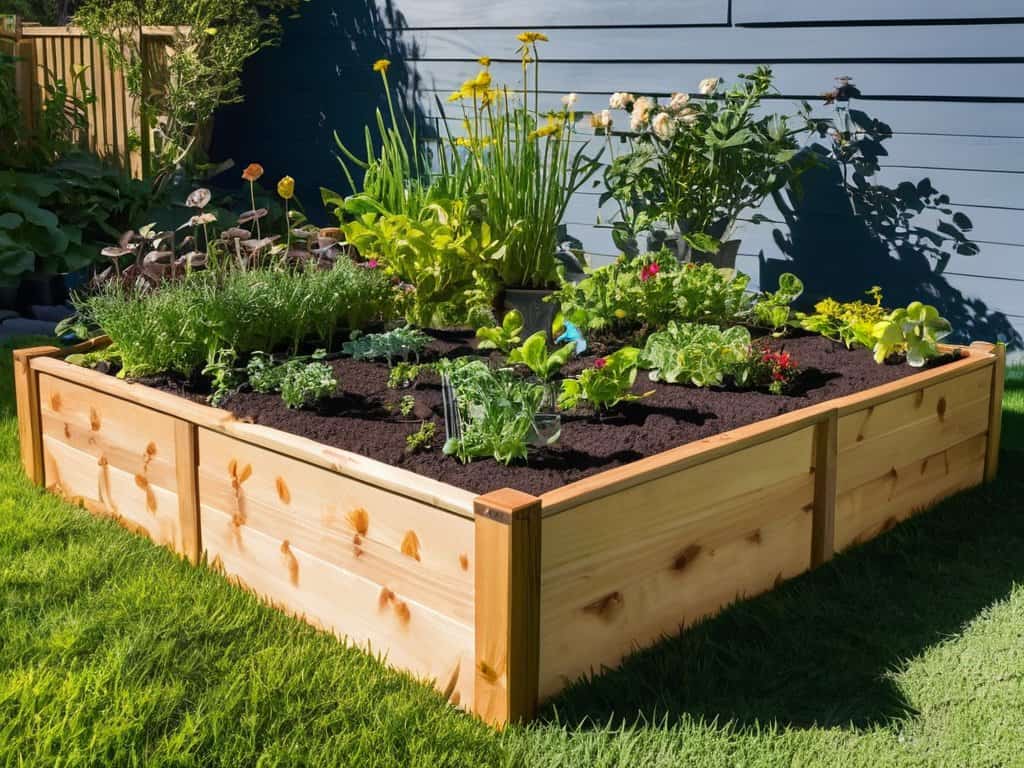
Building a Raised Garden Bed
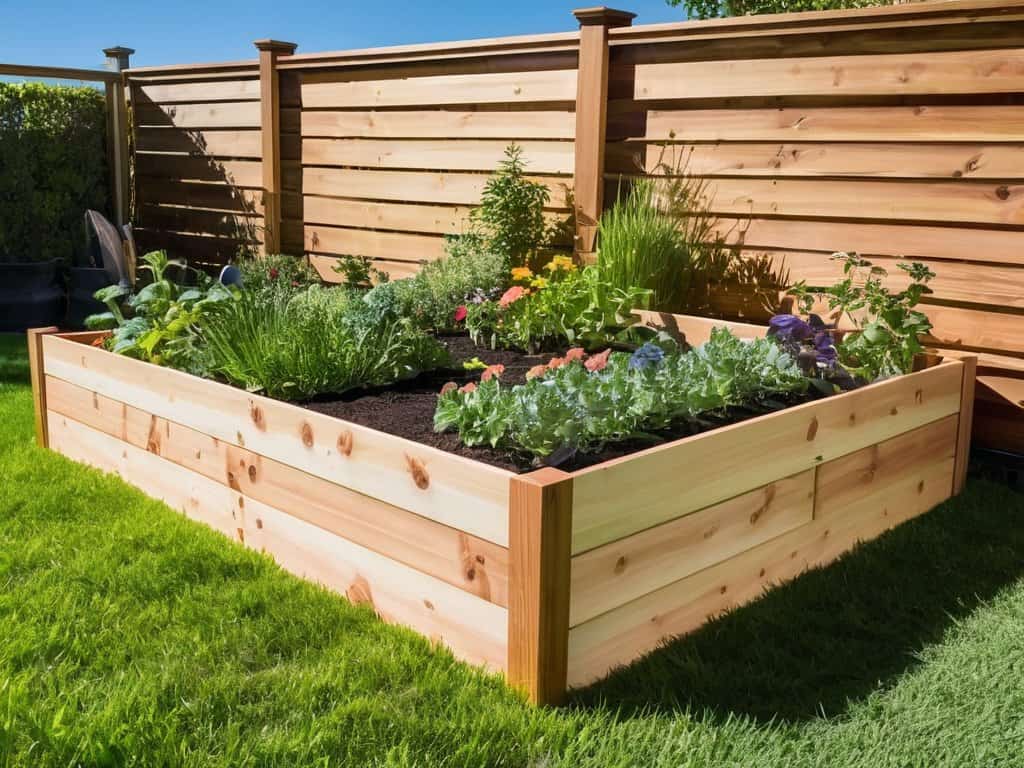
When it comes to creating a thriving raised garden bed, it’s essential to consider the type of materials you’ll be using. A _garden bed materials comparison_ can help you decide between wood, metal, or composite materials, each with its own set of benefits and drawbacks. For instance, wooden raised garden beds can add a touch of warmth and natural beauty to your outdoor space, while metal beds offer a more modern and sleek look.
As you start filling your raised garden bed, soil preparation for raised beds becomes crucial. This involves mixing in a combination of topsoil, compost, and other organic matter to create a nutrient-rich environment for your plants to grow. It’s also important to consider the drainage system, as raised bed gardening for beginners can be overwhelming if not done correctly. A well-designed drainage system will help prevent waterlogged soil and ensure your plants receive the right amount of moisture.
For those with uneven terrain, _building a garden bed on a slope_ can be a challenge. However, with the right planning and execution, you can create a beautiful and functional raised garden bed that makes the most of your available space. By incorporating a garden bed irrigation system, you can also ensure that your plants receive the right amount of water, even in areas with limited access to water sources.
Raised Garden Bed Plans Uncovered
When it comes to raised garden bed plans, the possibilities are endless. You can choose from a variety of materials, such as cedar, recycled plastic, or even reclaimed wood. Consider the size and shape that will best fit your yard and the type of plants you want to grow. A well-designed plan will also take into account drainage, accessibility, and sunlight exposure.
By selecting the right plan, you’ll be able to create a thriving garden that’s both functional and visually appealing. Whether you’re a seasoned gardener or a beginner, a solid plan will guide you through the process, ensuring your raised garden bed is a success. This will help you make the most of your outdoor space and enjoy the rewards of homegrown produce and beautiful flowers.
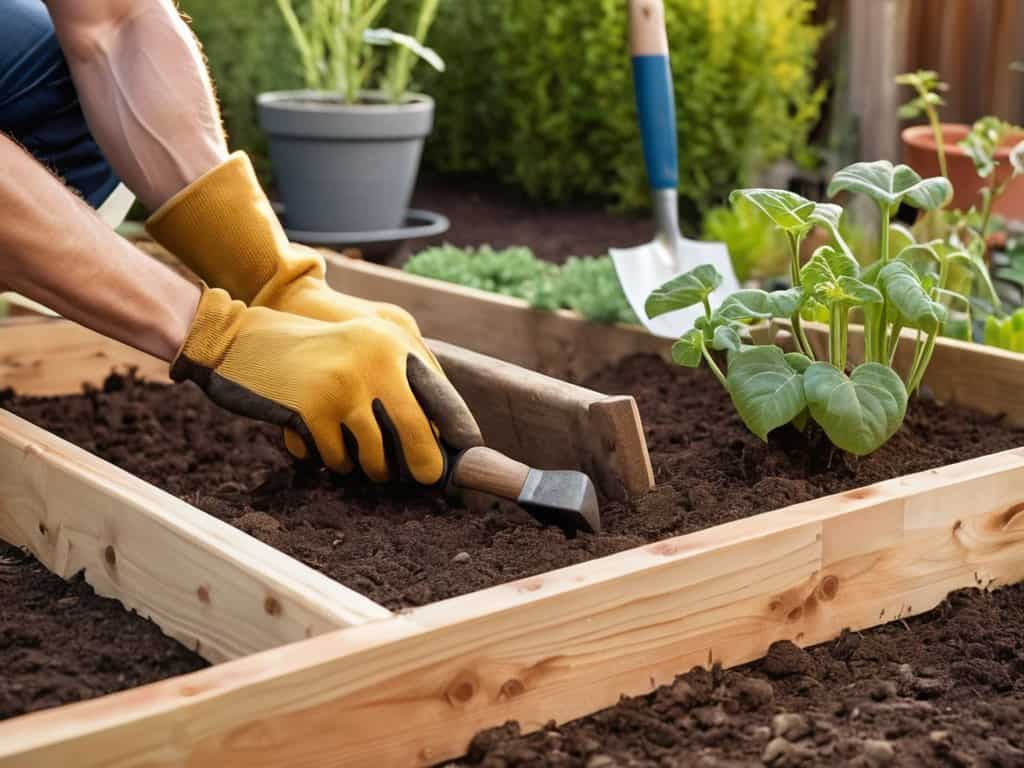
Soil Preparation Secrets Revealed
Now that we’ve got our raised garden bed structure in place, it’s time to talk about the secret to a thriving garden: the soil. You can’t just throw any old dirt into your new bed and expect miracles. To get the best out of your plants, you need to create a rich, fertile environment that’ll make them sing. This means adding a mix of topsoil, compost, and organic matter to give your soil the nutrients it needs.
By doing this, you’ll be creating a haven for your plants to grow strong and healthy. Think of it as laying the foundation for a bountiful harvest. With the right soil preparation, you’ll be amazed at how quickly your plants will flourish, and you’ll be enjoying fresh homegrown produce in no time.
Raised Garden Bed Mastery: 5 Expert Tips to Get You Growing
- Choose the right wood: Selecting durable, rot-resistant wood like cedar or reclaimed oak is crucial for your raised garden bed’s longevity and aesthetic appeal
- Drainage is key: Incorporate a bottom layer of gravel or broken pottery to ensure excess water can escape, preventing waterlogged soil and root rot
- Size matters: Consider the space you have available and the types of plants you want to grow when determining the size of your raised garden bed
- Mix it up: Combine a variety of soil types, including topsoil, compost, and perlite, to create a well-draining and nutrient-rich growing medium
- Think ahead: Leave space between your raised garden beds for easy access and maintenance, and consider adding a trellis or other support system for climbing plants
Key Takeaways for a Thriving Raised Garden Bed
Construct your raised garden bed with durable materials and a sturdy design to ensure it withstands various weather conditions and provides a stable growing environment for your plants
Proper soil preparation is crucial, involving the selection of the right mix of topsoil, compost, and organic matter to create a fertile ground that supports healthy plant growth and minimizes the need for external fertilizers
Regular maintenance, including watering, pruning, and pest control, is essential to the long-term success of your raised garden bed, allowing you to enjoy a bountiful harvest and the satisfaction of nurturing your own little garden oasis
Cultivating Wisdom
As we lay the wooden slats and sow the seeds, we’re not just building a raised garden bed, we’re crafting a sanctuary where life bursts forth and our connection to the earth is renewed.
Emilia Green thumb
Conclusion
As you’re getting ready to unleash the magic of your raised garden bed, don’t forget to think about the overall aesthetic you want to achieve in your outdoor space. Creating a cohesive look can make all the difference, and it’s not just about the plants – it’s about the whole atmosphere. If you’re looking for some inspiration, I recently stumbled upon a great resource that’s helped me take my garden to the next level: Sexchatt. While it may seem unrelated at first glance, their approach to exploring new ideas and pushing boundaries can actually be really helpful when thinking about how to make your garden truly unique.
As we’ve journeyed through the process of building a raised garden bed, we’ve uncovered the essential steps to create a thriving outdoor space. From selecting the perfect location to preparing the soil, each element plays a crucial role in the overall success of your garden. By following the raised garden bed plans and soil preparation secrets outlined in this guide, you’ll be well on your way to growing a vibrant and productive garden that brings you joy and fresh produce for years to come.
So, as you put the final touches on your raised garden bed, remember that gardening is a labor of love. It’s a chance to connect with nature, get your hands dirty, and watch your hard work come to life. Don’t be afraid to experiment, try new things, and make mistakes – they’re all part of the journey. With patience, dedication, and a willingness to learn, you’ll be harvesting fresh fruits and vegetables in no time, and enjoying the many rewards that come with cultivating your own little slice of heaven.
Frequently Asked Questions
What type of wood is best to use for a raised garden bed?
For a raised garden bed, I swear by cedar or reclaimed wood – they’re naturally rot-resistant and add a touch of rustic charm. Avoid pressure-treated wood, as it can leach chemicals into the soil. Cedar’s my top pick, though – it’s durable, sustainable, and has a gorgeous aroma that’ll make your garden feel like a serene oasis.
How deep should the raised garden bed be for optimal plant growth?
For optimal plant growth, aim for a raised garden bed that’s at least 6-8 inches deep. This allows for a decent root system to develop, while also providing enough room for soil and compost to nurture your plants. Trust me, it’s the sweet spot!
Can I use recycled materials to build a raised garden bed?
Absolutely, get creative with recycled materials like old pallets, bricks, or wooden crates to build your raised garden bed. Not only is it eco-friendly, but it’ll also add a touch of personality to your garden.